Properties- Uploading Property Photos/ Video
Within a property file you are able to upload photos as well as a video. The photos will appear in multiple areas. Once photos are uploaded they will appear on your Sellpoint listing, Property flyer, and if you publish this property to your core website.
**Make sure to upload at least 1 photo and mark it as the ‘primary’ photo as this will be the 1st picture people will see on your Sellpoint Property Link and on your Core website.
To upload photos:
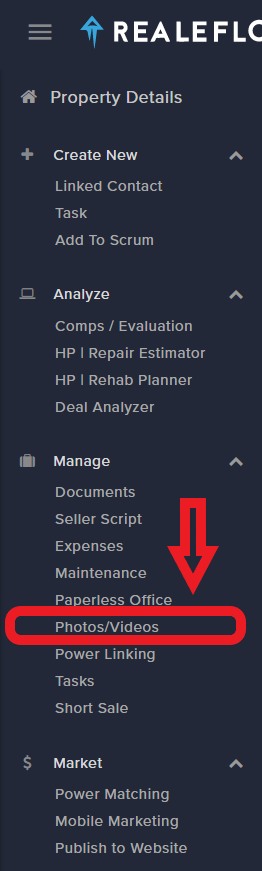
1. Go into a property file. Once in the file click on ‘Photos/Videos’ under the Manage section on the left hand side of your screen

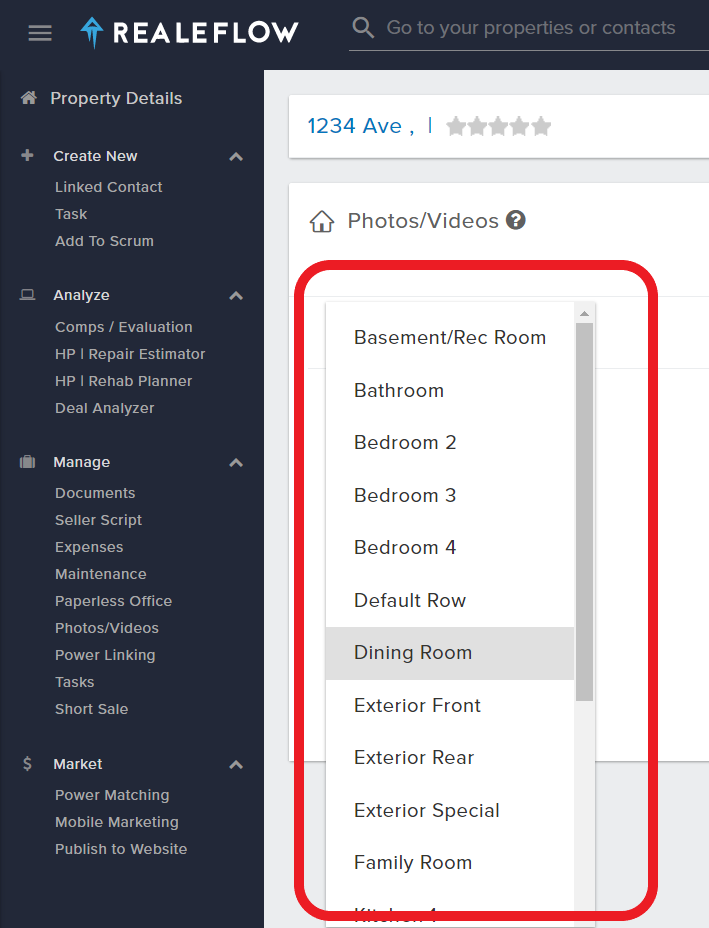
3. Once the photo is uploaded, you will want to name the photo. Select an option from the drop down menu that appears at the bottom of the photo that was uploaded.
To upload a video for your property, first you will want upload your video to a video hosting service such as Youtube or Vimeo. Once the video is uploaded, copy and paste the Embed code of the video into the designated area below your property photos

Josh Tobias