How to Add/Edit/Delete a Power Linked User
Step by Step Instructions on how to add/delete your Power Linked User
Add a Power Linked User
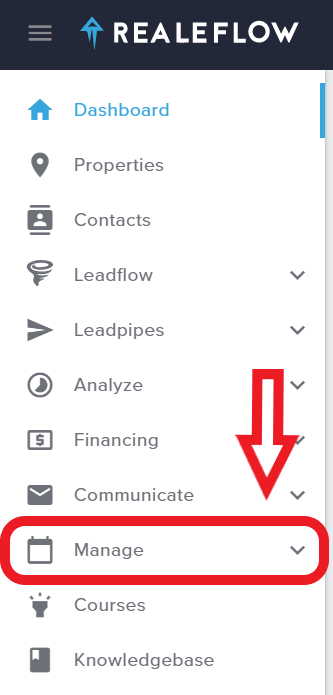
1. Go to ‘Manage’ in the side Navigation
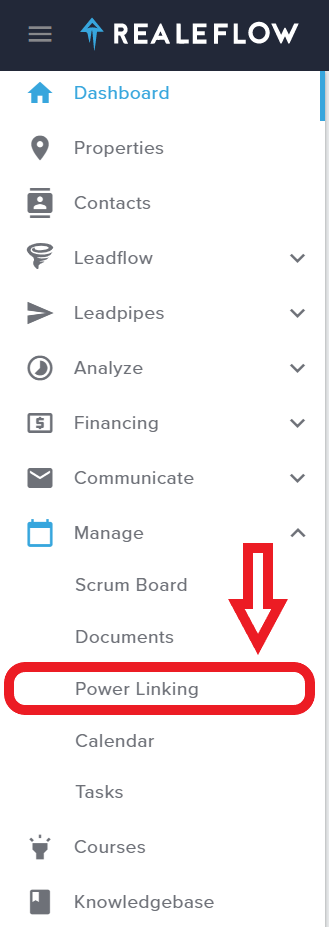
2. In the drop down menu select ‘Power Linking’
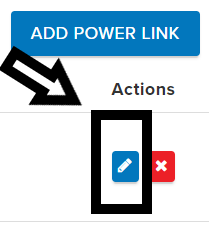
3. Next click the ‘Add Power Link’ button
4. Enter in the Email, Name, Company, and Relationship then hit ‘Next’5. Select the Access level for your Properties and Contacts and hit Save**
5. An Email will be sent to the Power Linked User with a link. Once the link is clicked on the Power Linked user with then be active within your account. The Power Linked User will also be emailed their password to login.
Edit a Power Linked User
1. Go to ‘Manage’ in the side Navigation


4. Update the Access Level and hit Save
Delete a Power Linked User
1. Go to ‘Manage’ in the side Navigation


and they are now deleted from your account.
Additional Information:
Access Level:
-Linked Items Only- user can only see the properties you link them to. They will not be able to see any other properties in your account
-Property Tools- these are all the tools within a Property file such as Comps and Power Matching. Select All or None for these tools
**Hammerpoint Repair Estimator, Rehab Planner, and the Deal Analysis are for Full Access Users only
-Property Tabs- Basic will allow access to the Property tab, All will include all tabs within a Property such as Public Info, Mortgage, Tenant, etc.
There are 2 statuses for a Power Linked User.


Josh Tobias