One of the most unique features of Wordpress websites is the ability to customize your opt-in forms. You no longer need to deal with pre-formatted opt-in forms that require information you may not need; or omit information you DO need!
Below, you will see a step-by-step process of adding, editing, deleting fields in your default forms as well as creating a brand new one from scratch.
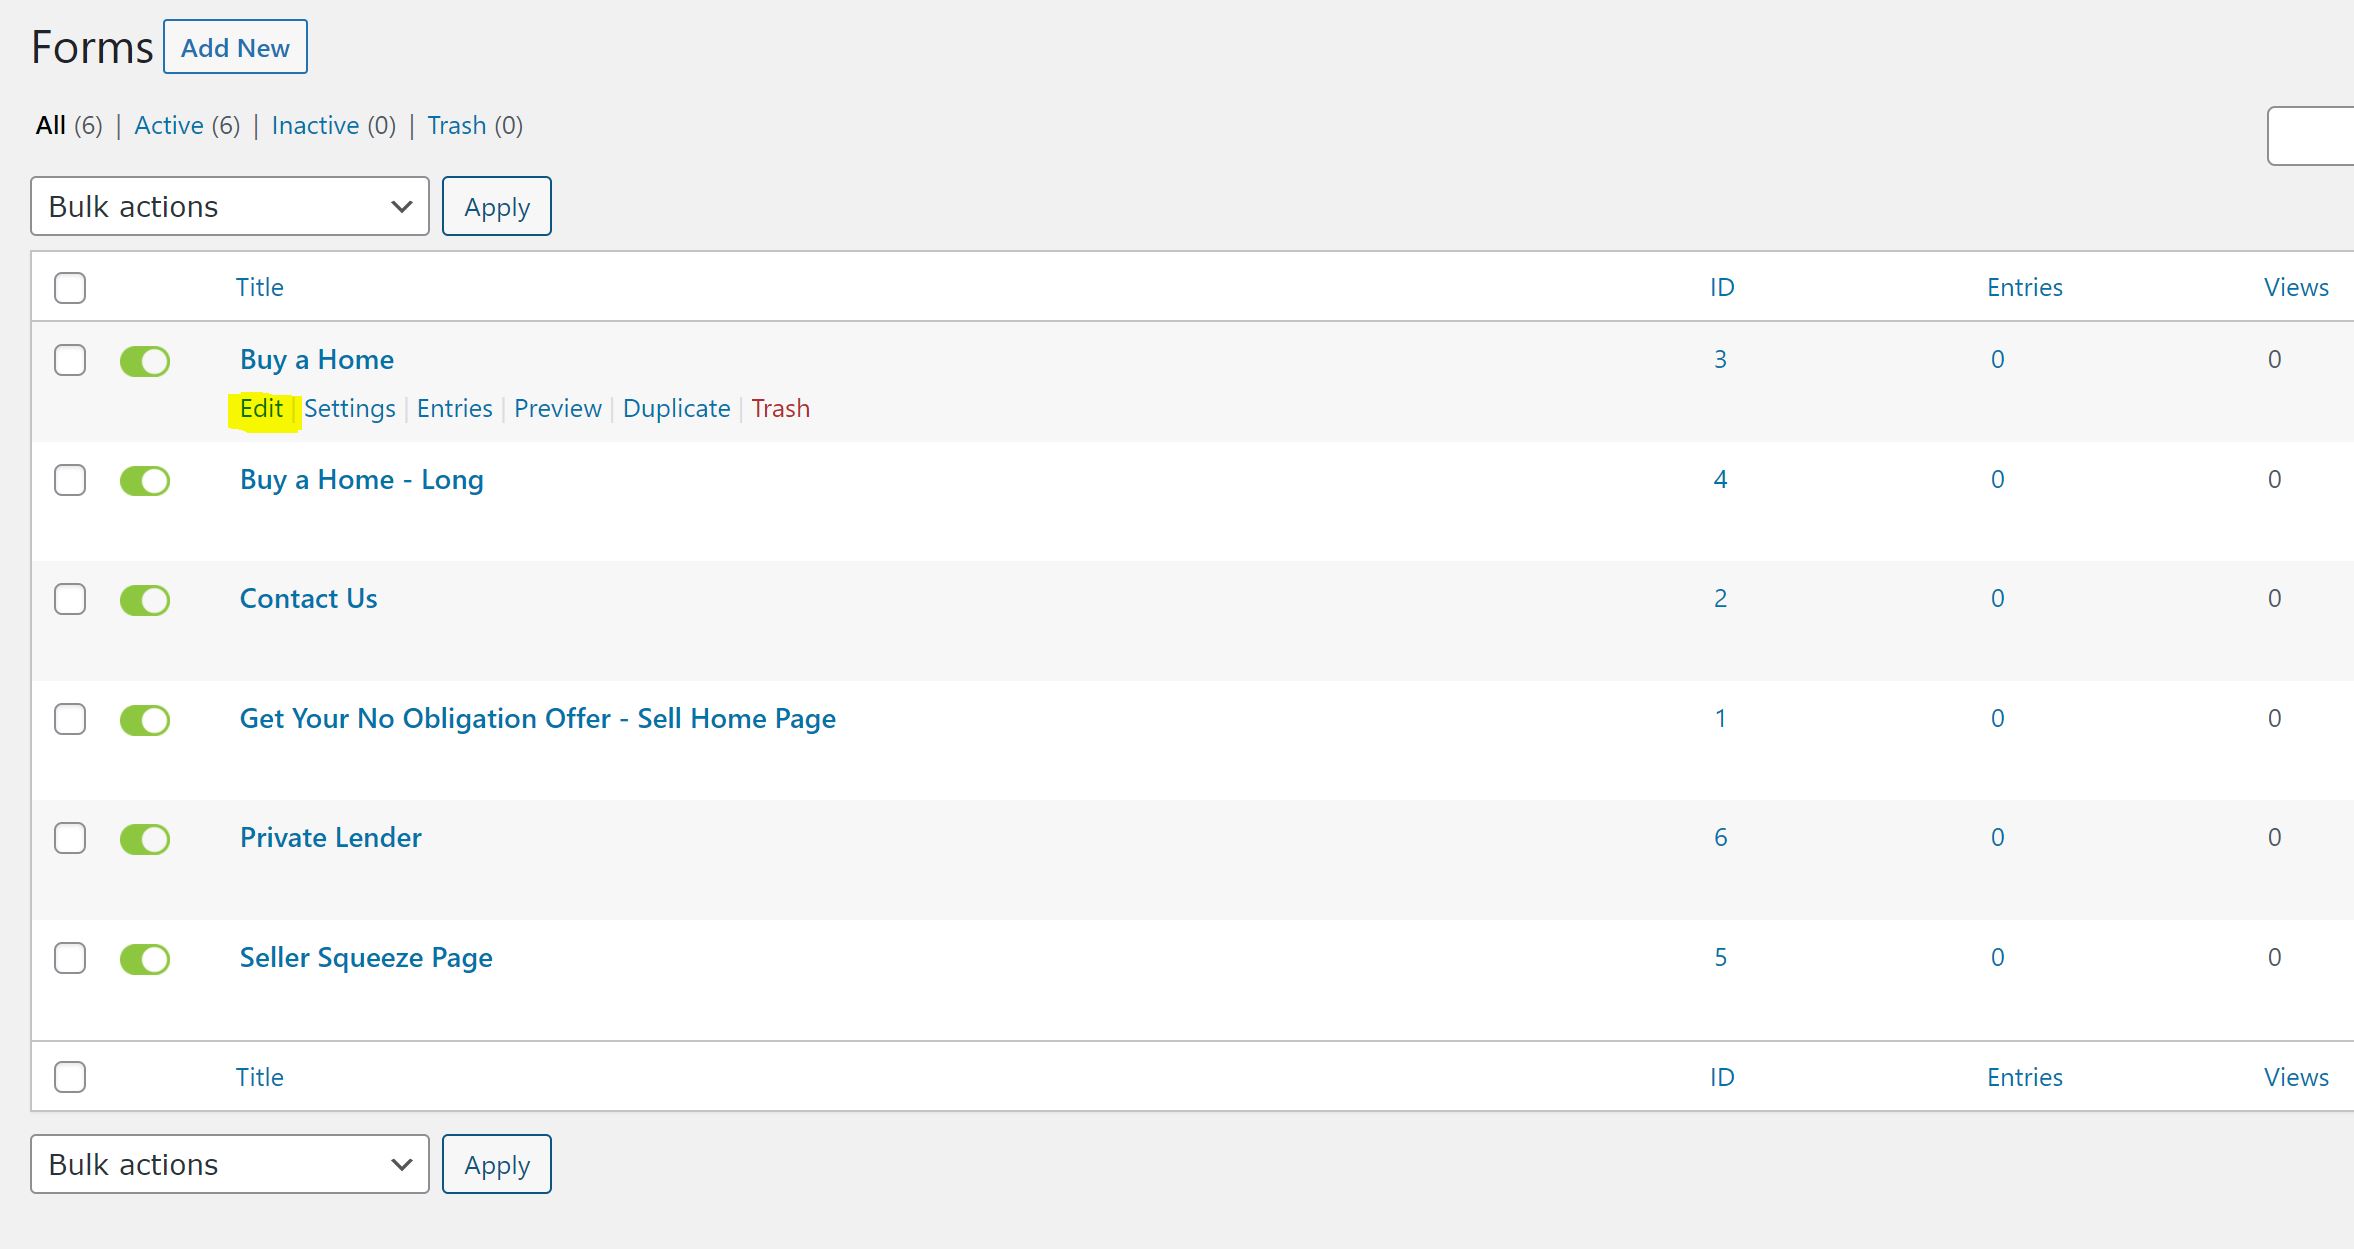
From your main Wordpress dashboard, click on the Forms tab on the main menu, then click Forms in the side menu flyout

Next, hover your mouse over the form you wish to edit, and click EDIT
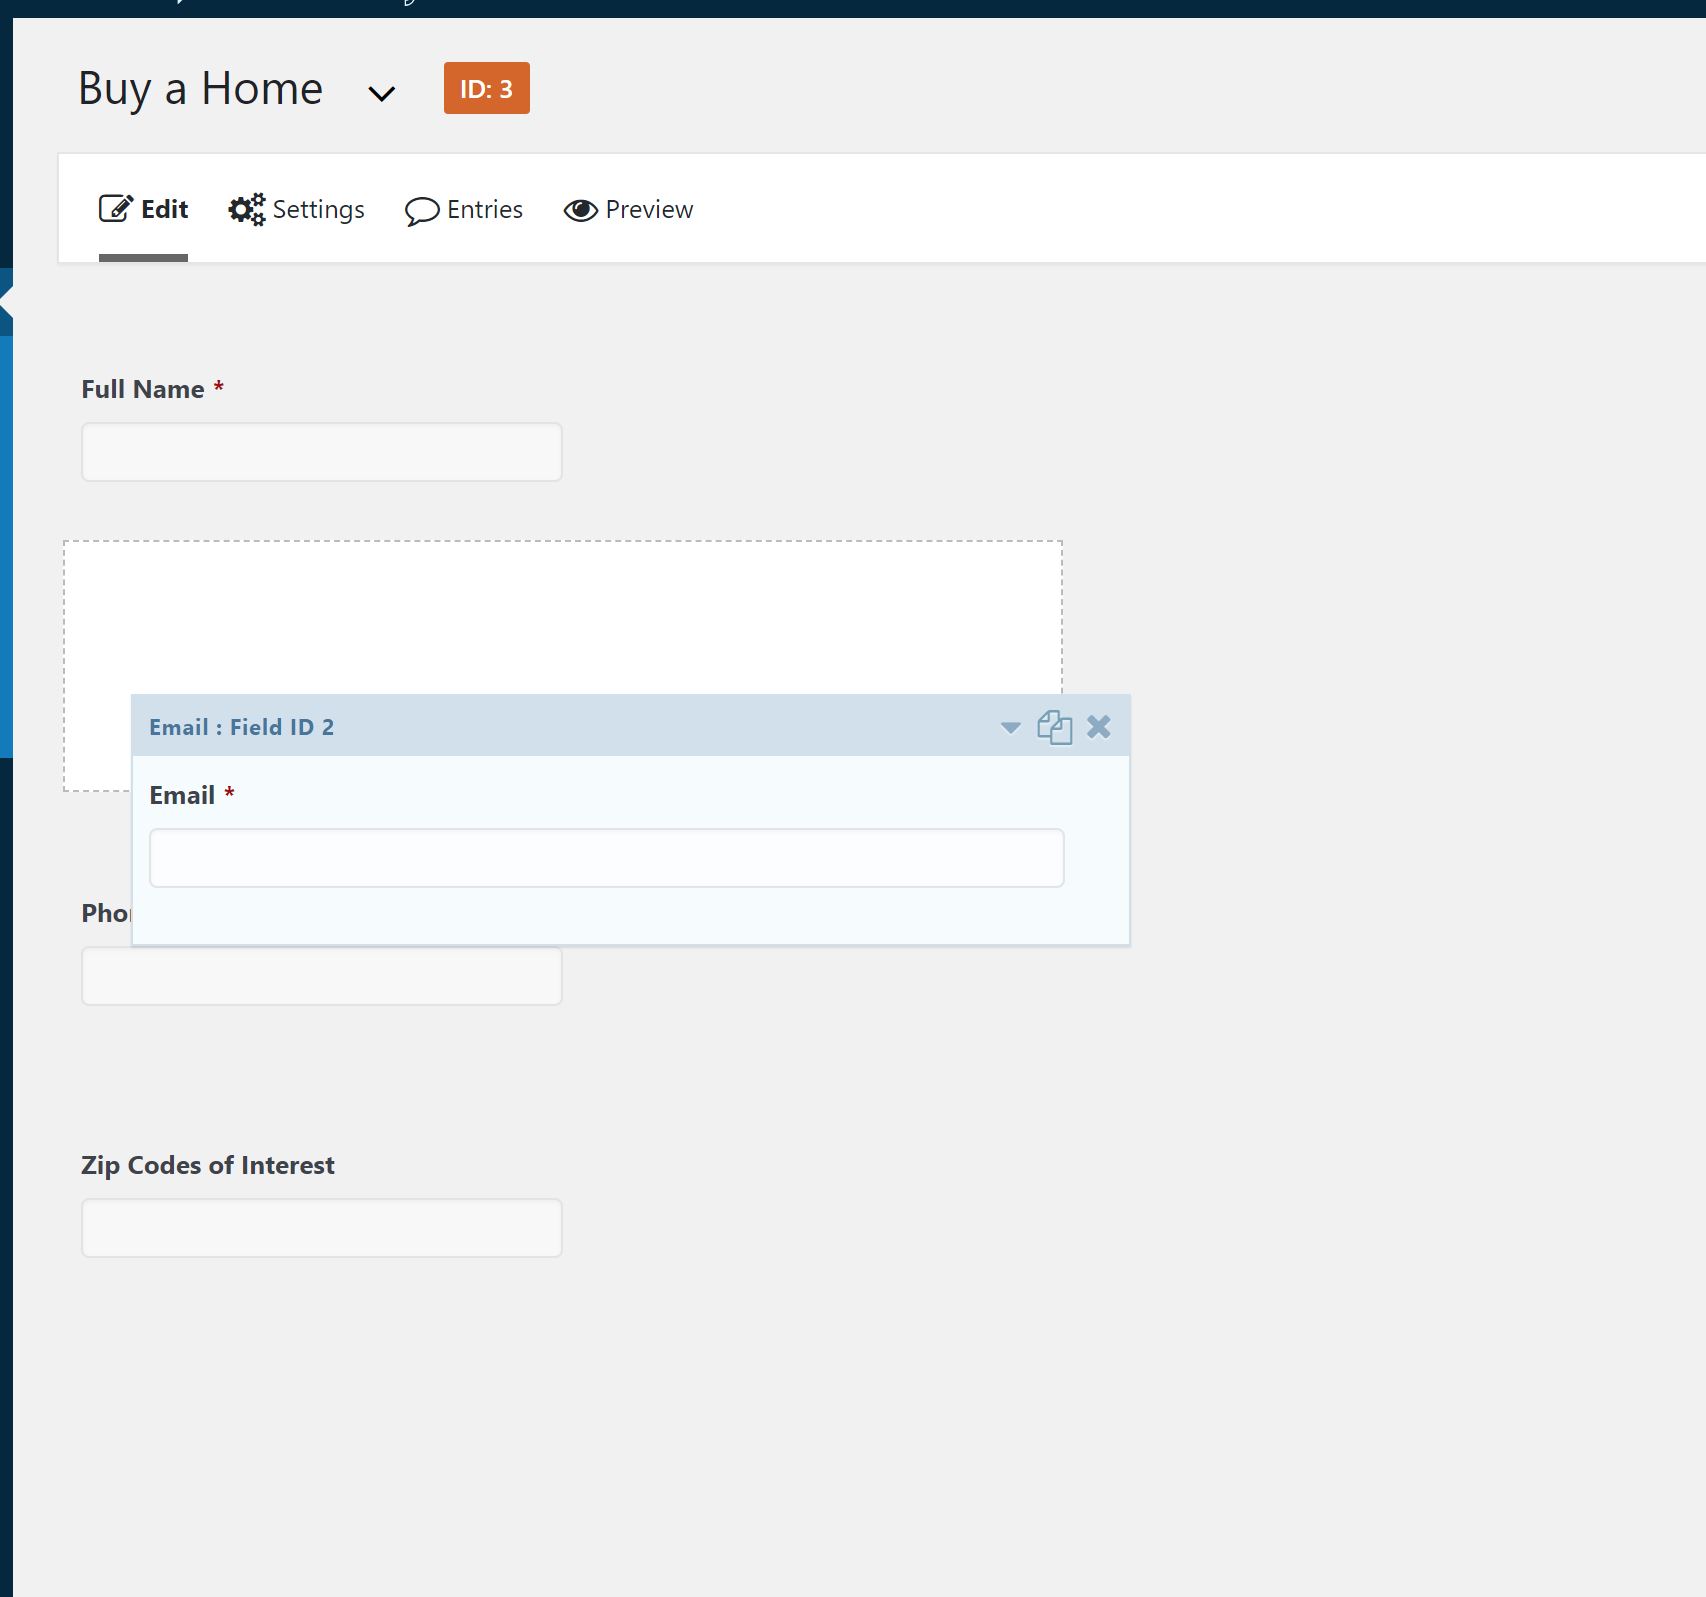
Now that you are in the form editor, hover your mouse over one of the fields. You can click and drag the top blue bar on any of the fields to rearrange the order.
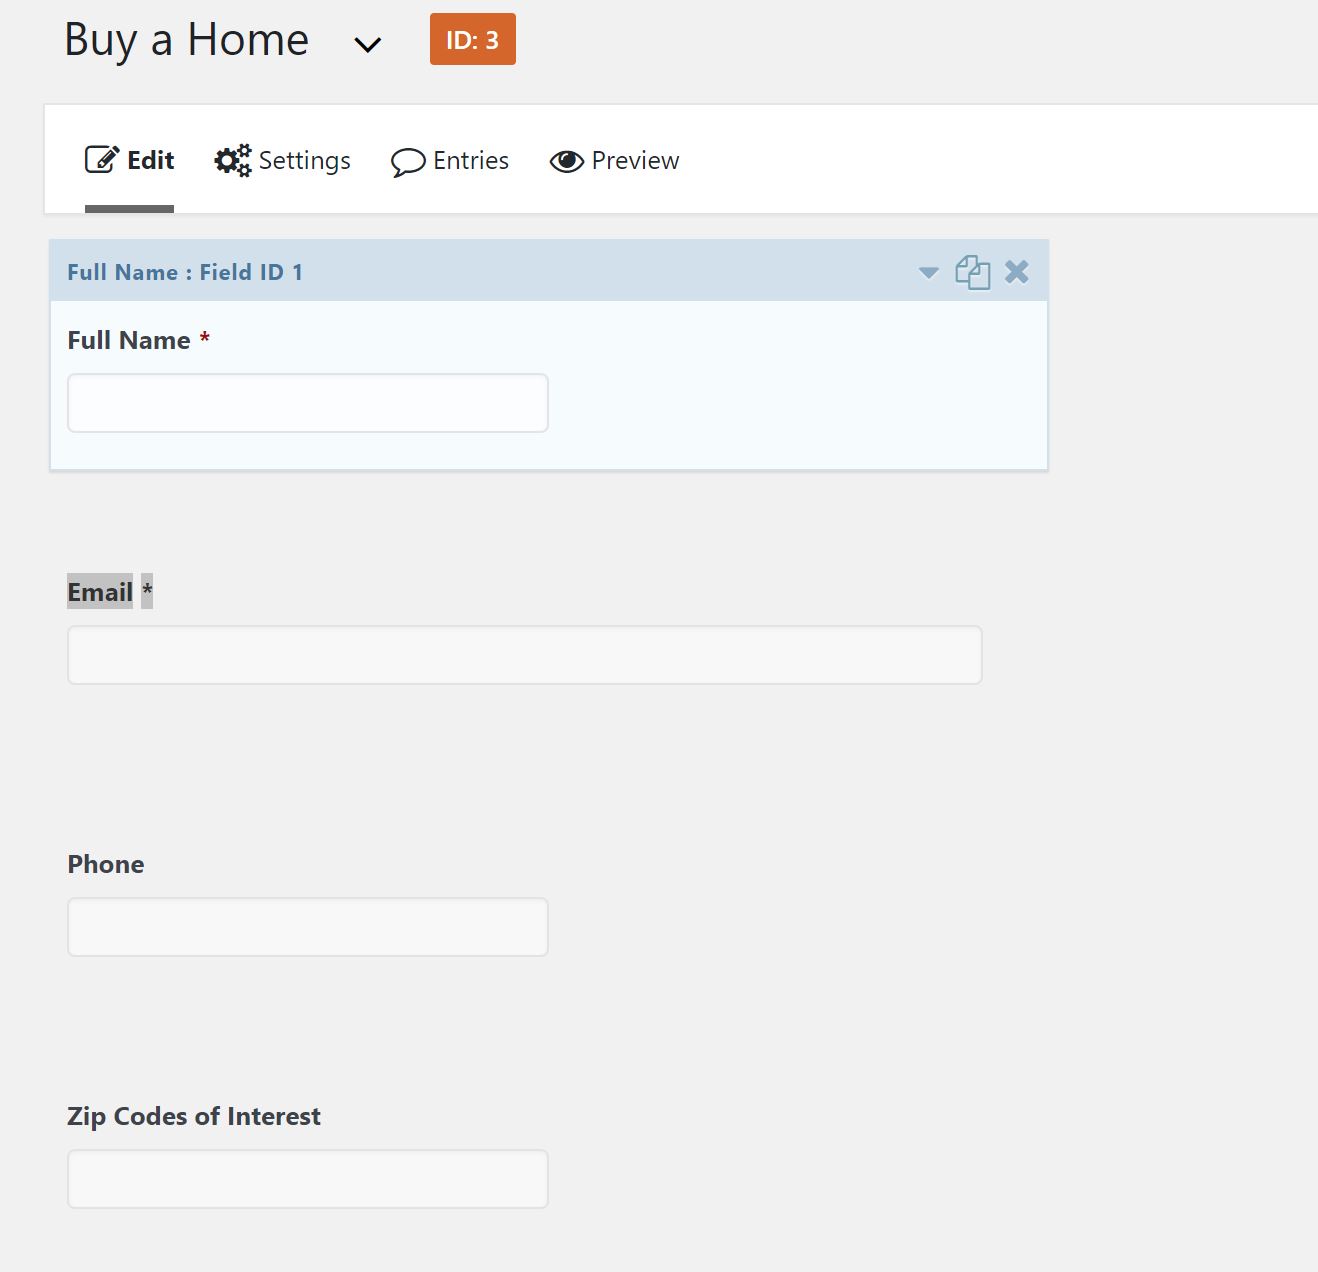
With that completed. Let's take a look at some of the form fields that can be added.
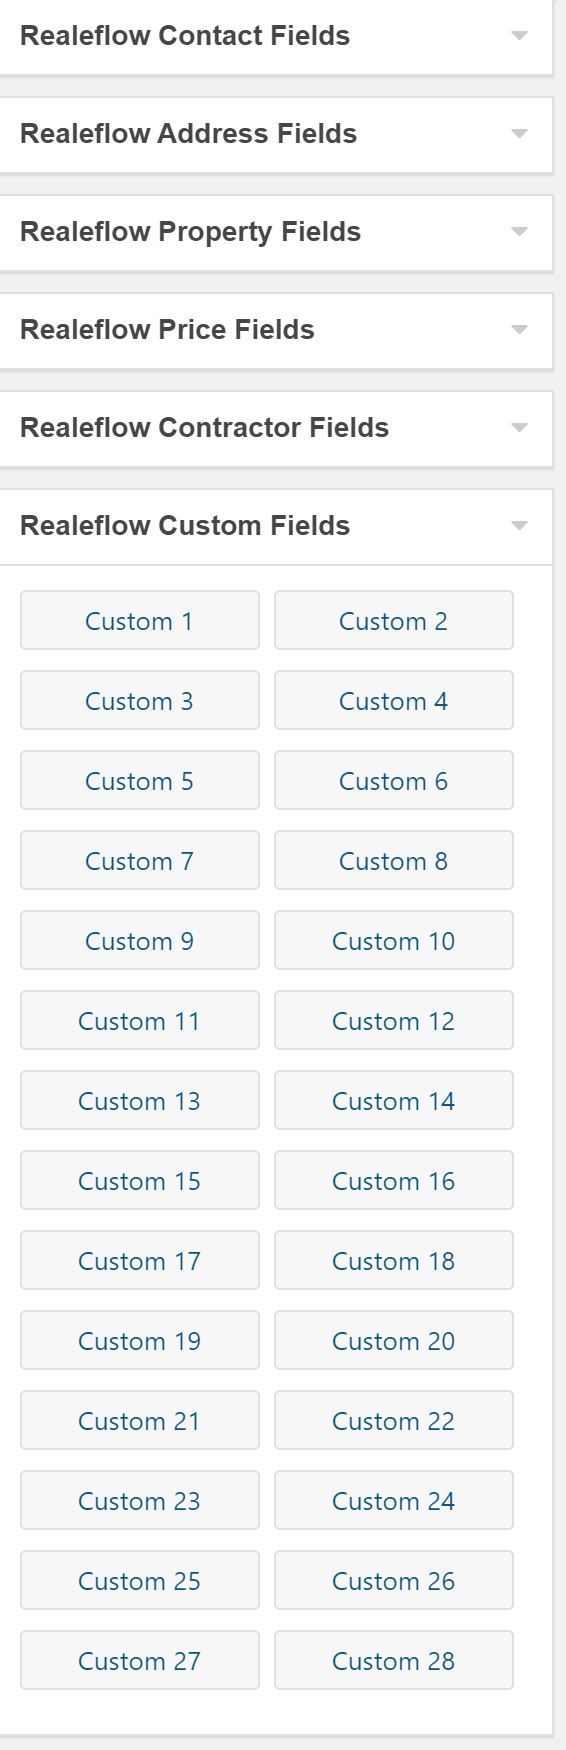
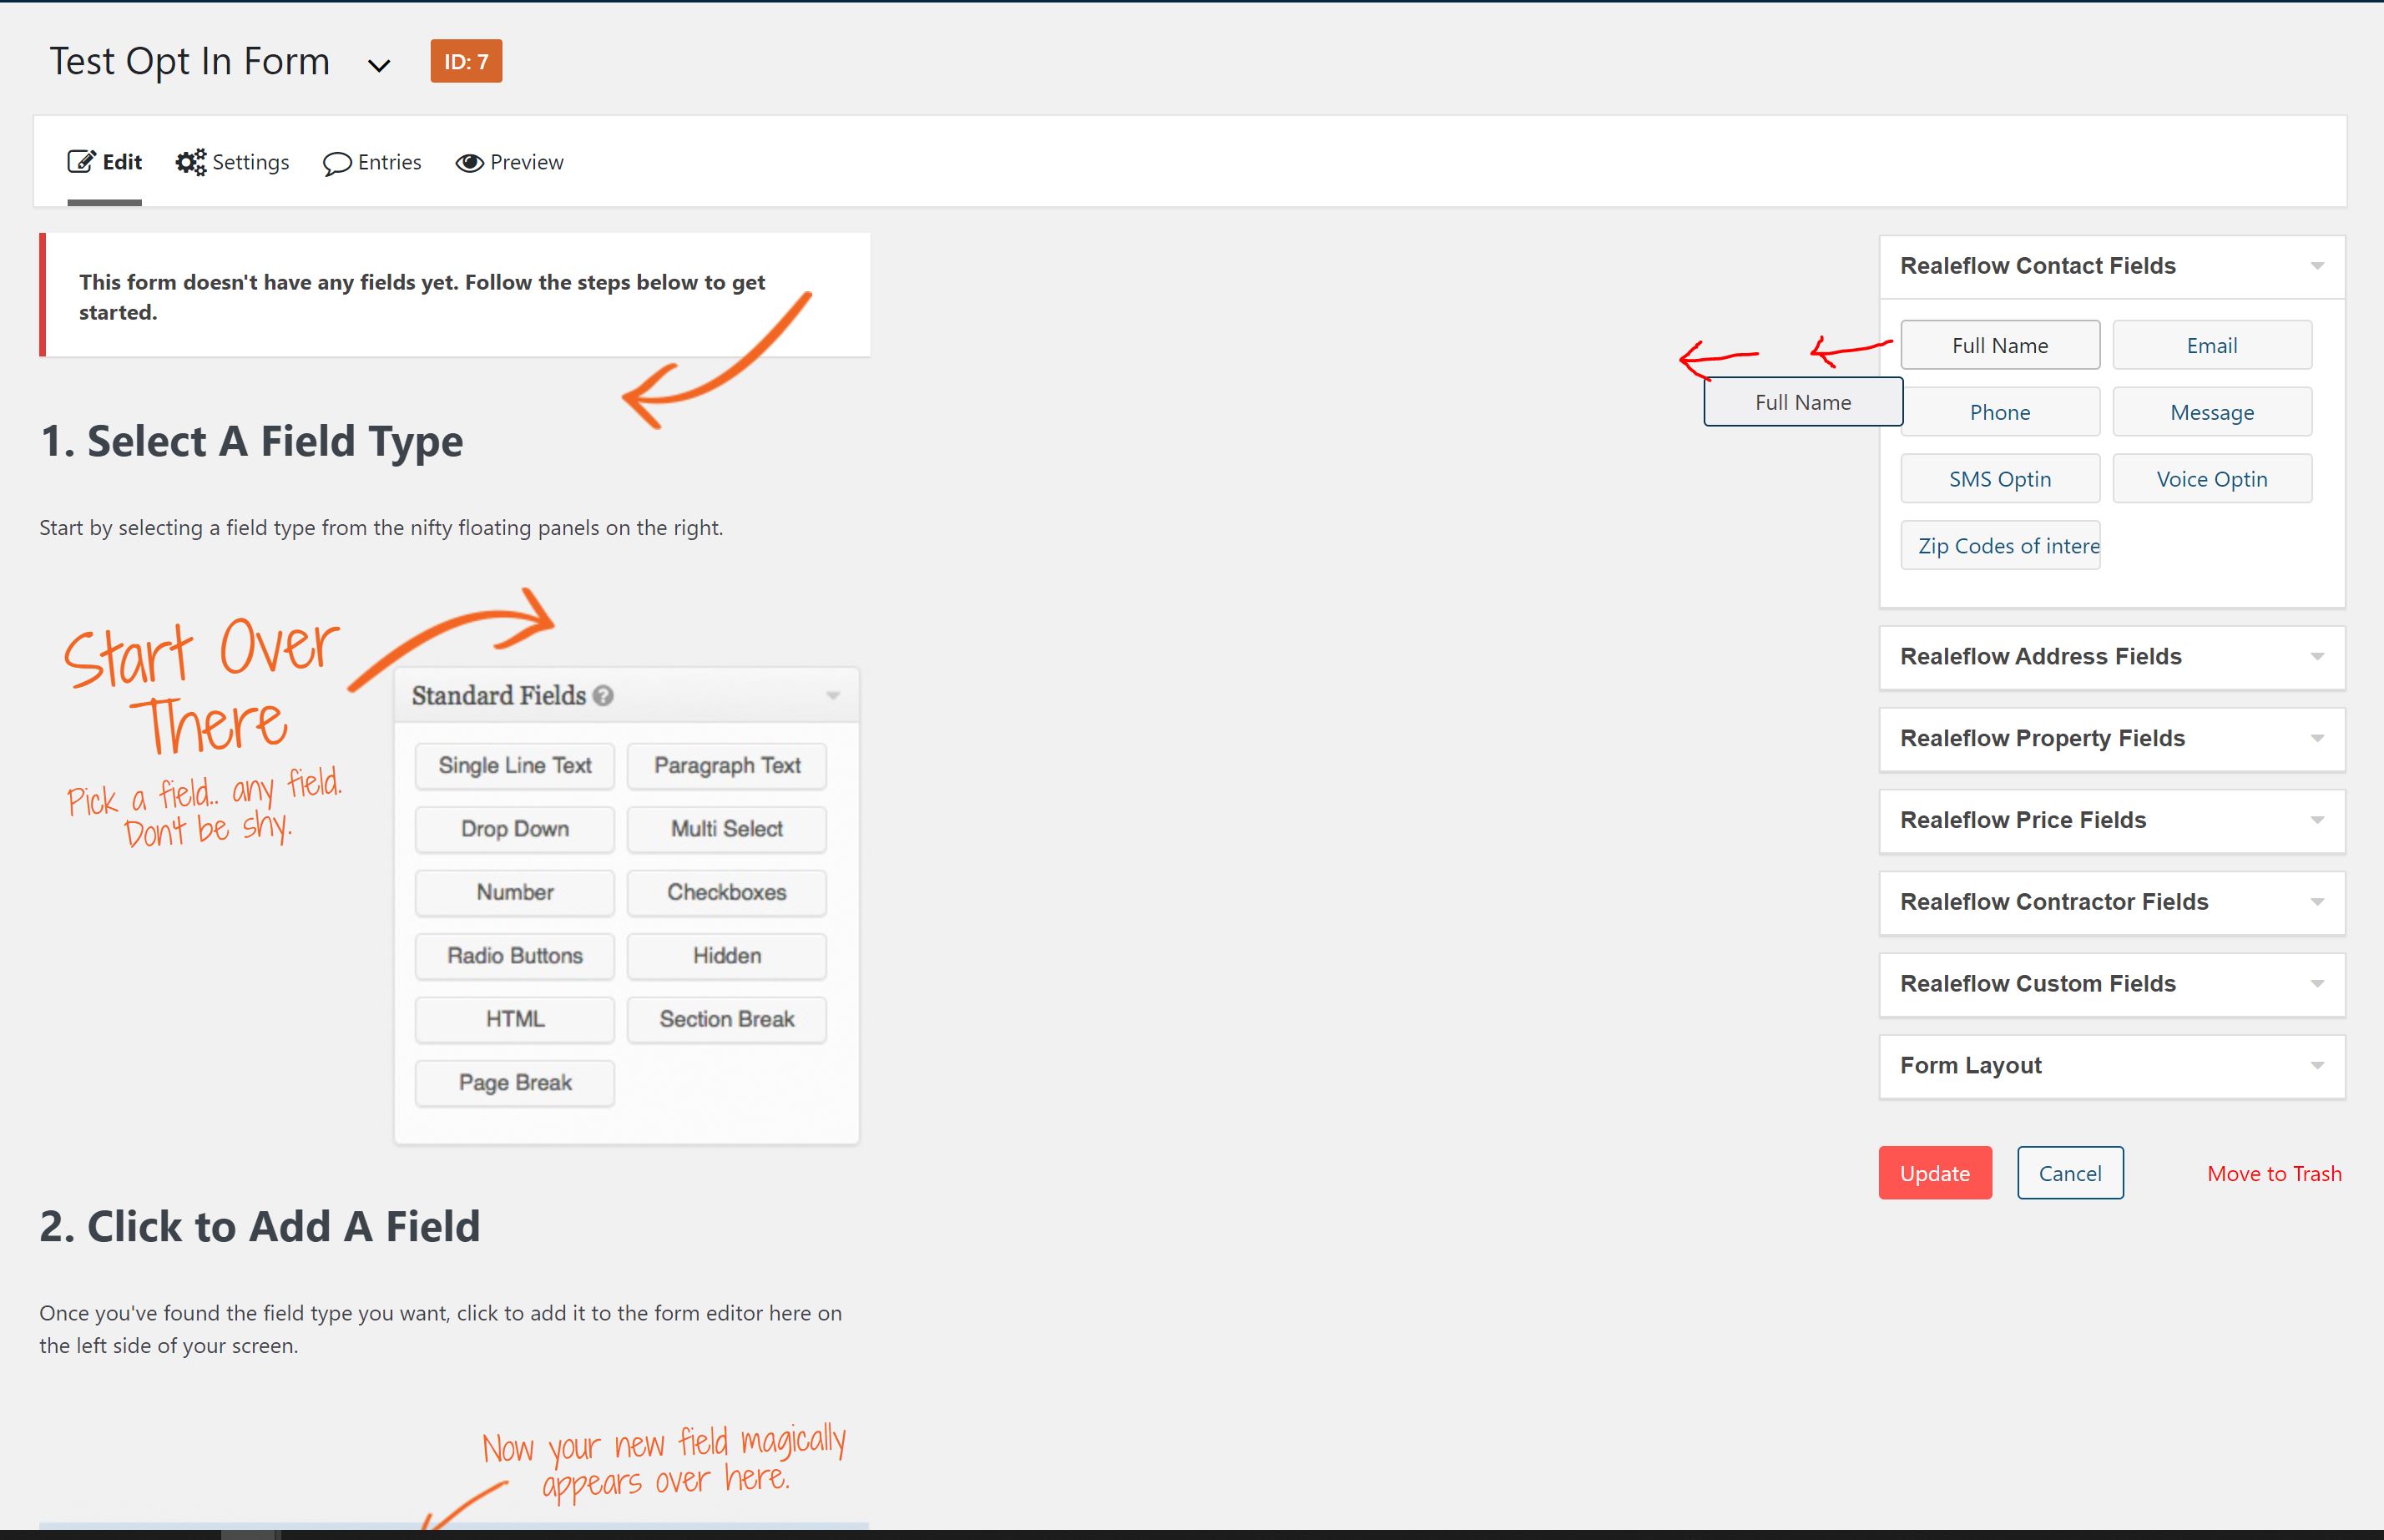
Under Contact Fields, you can add any of these, whether the form is for a buyer, seller, or other type of contact.
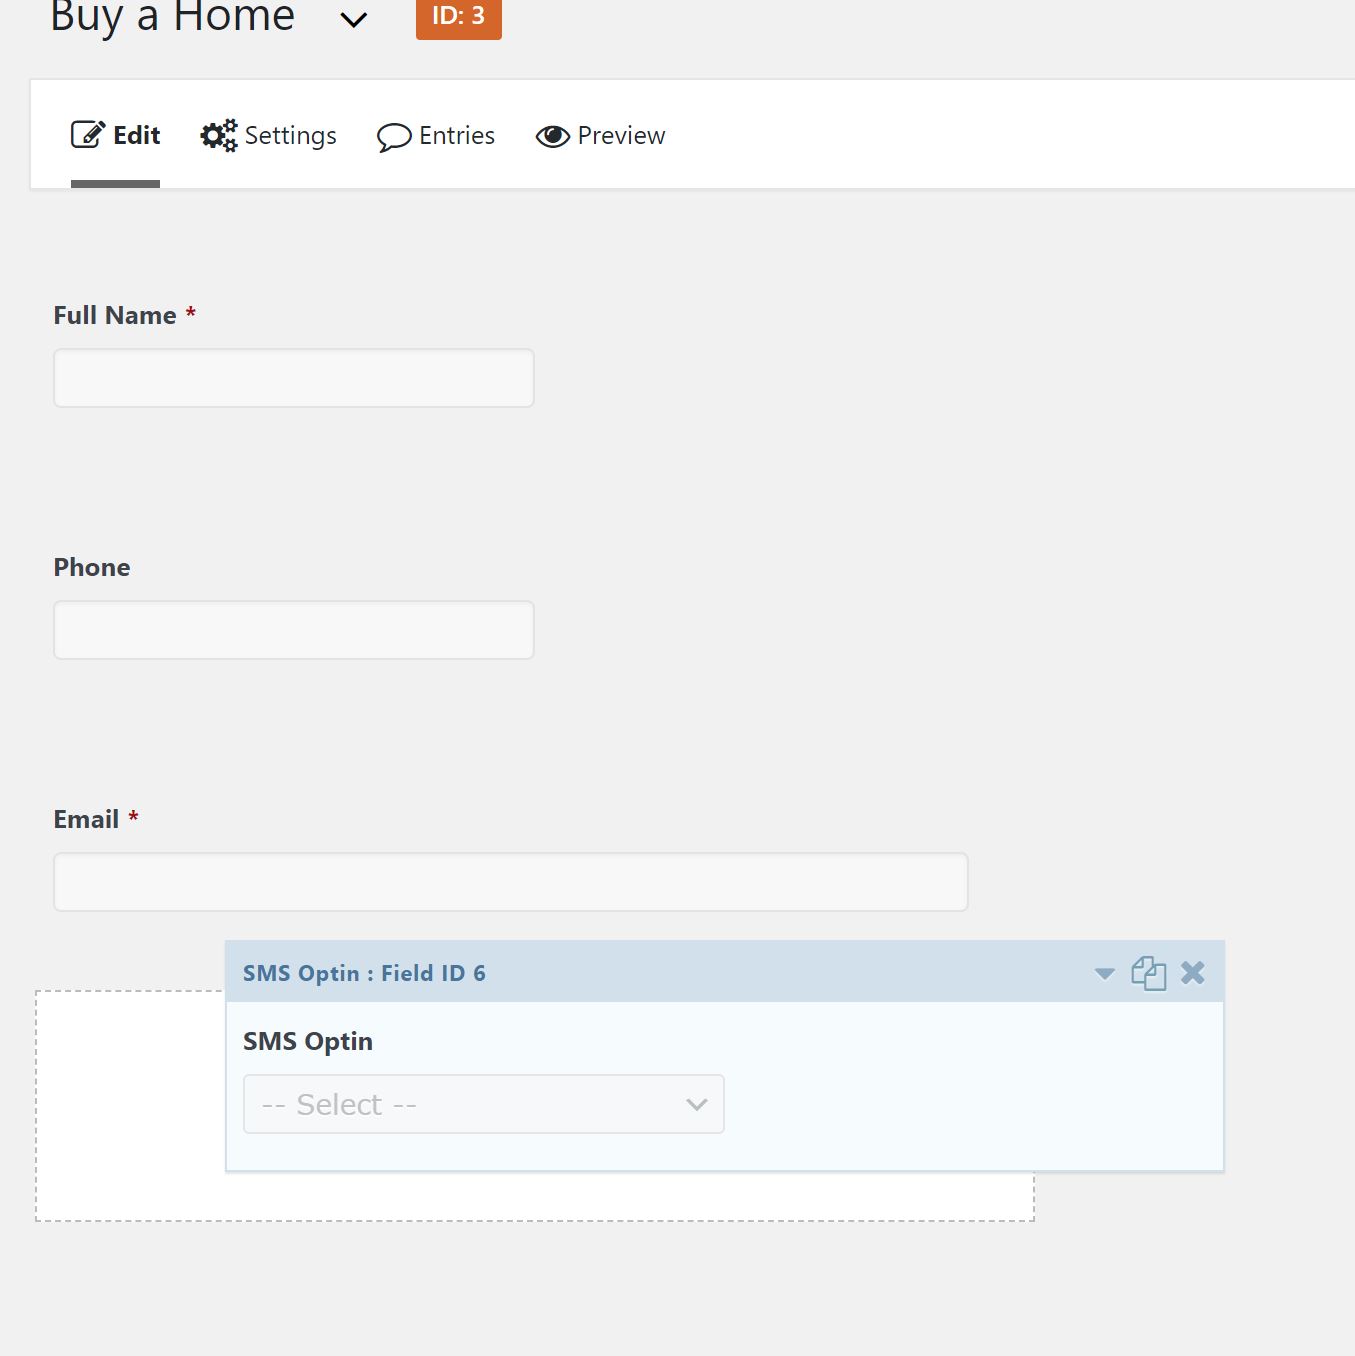
If you would like to utilize your Moby tool to send text message campaigns and pre-recorded voice broadcasts, you can add the SMS Optin field and the Voice Optin field to your form.
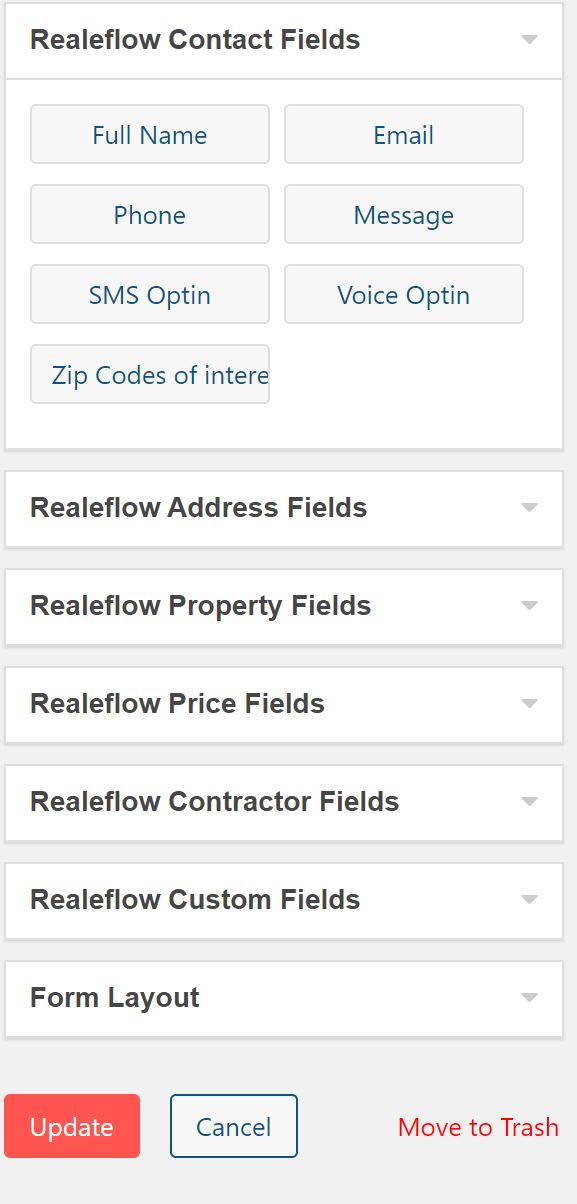
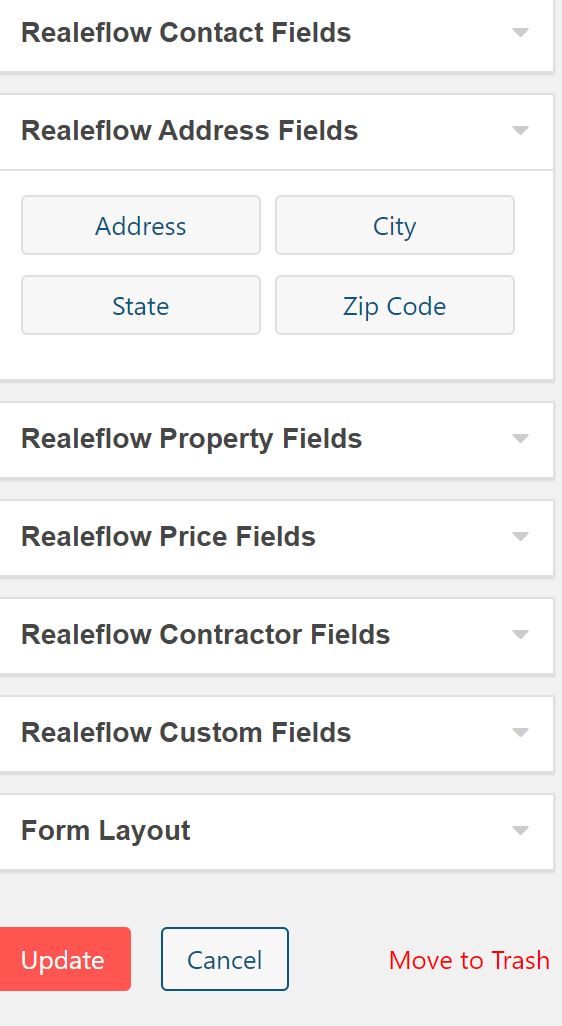
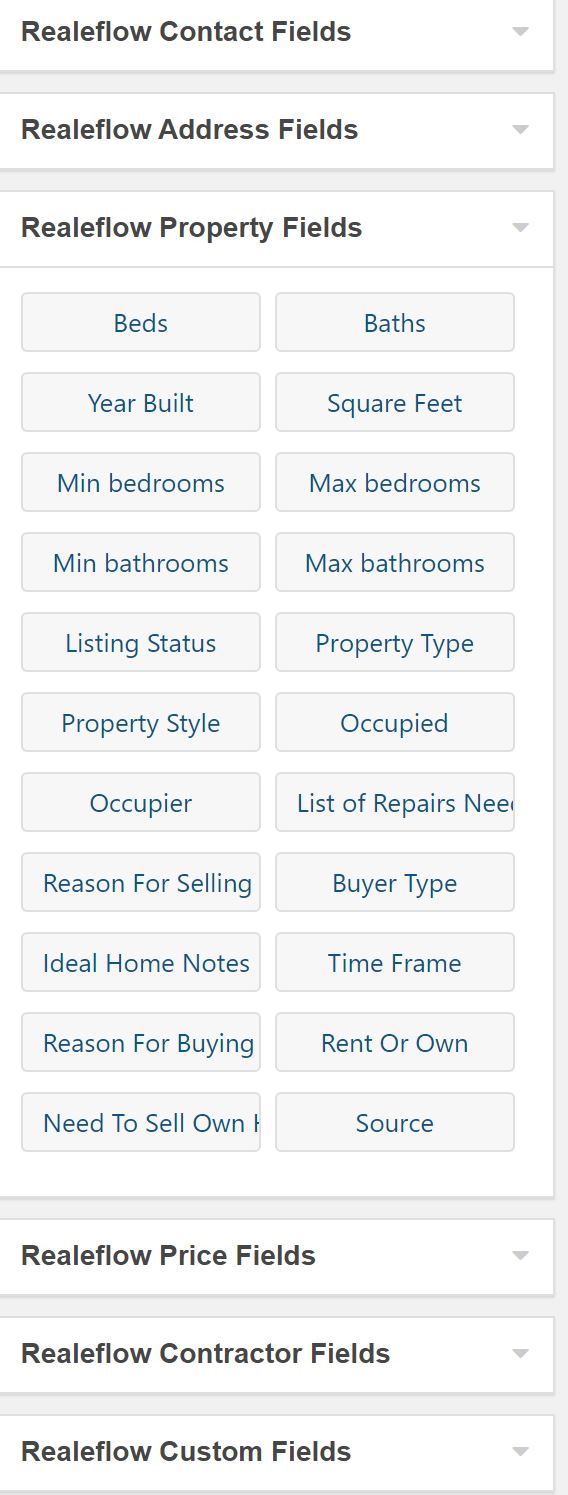
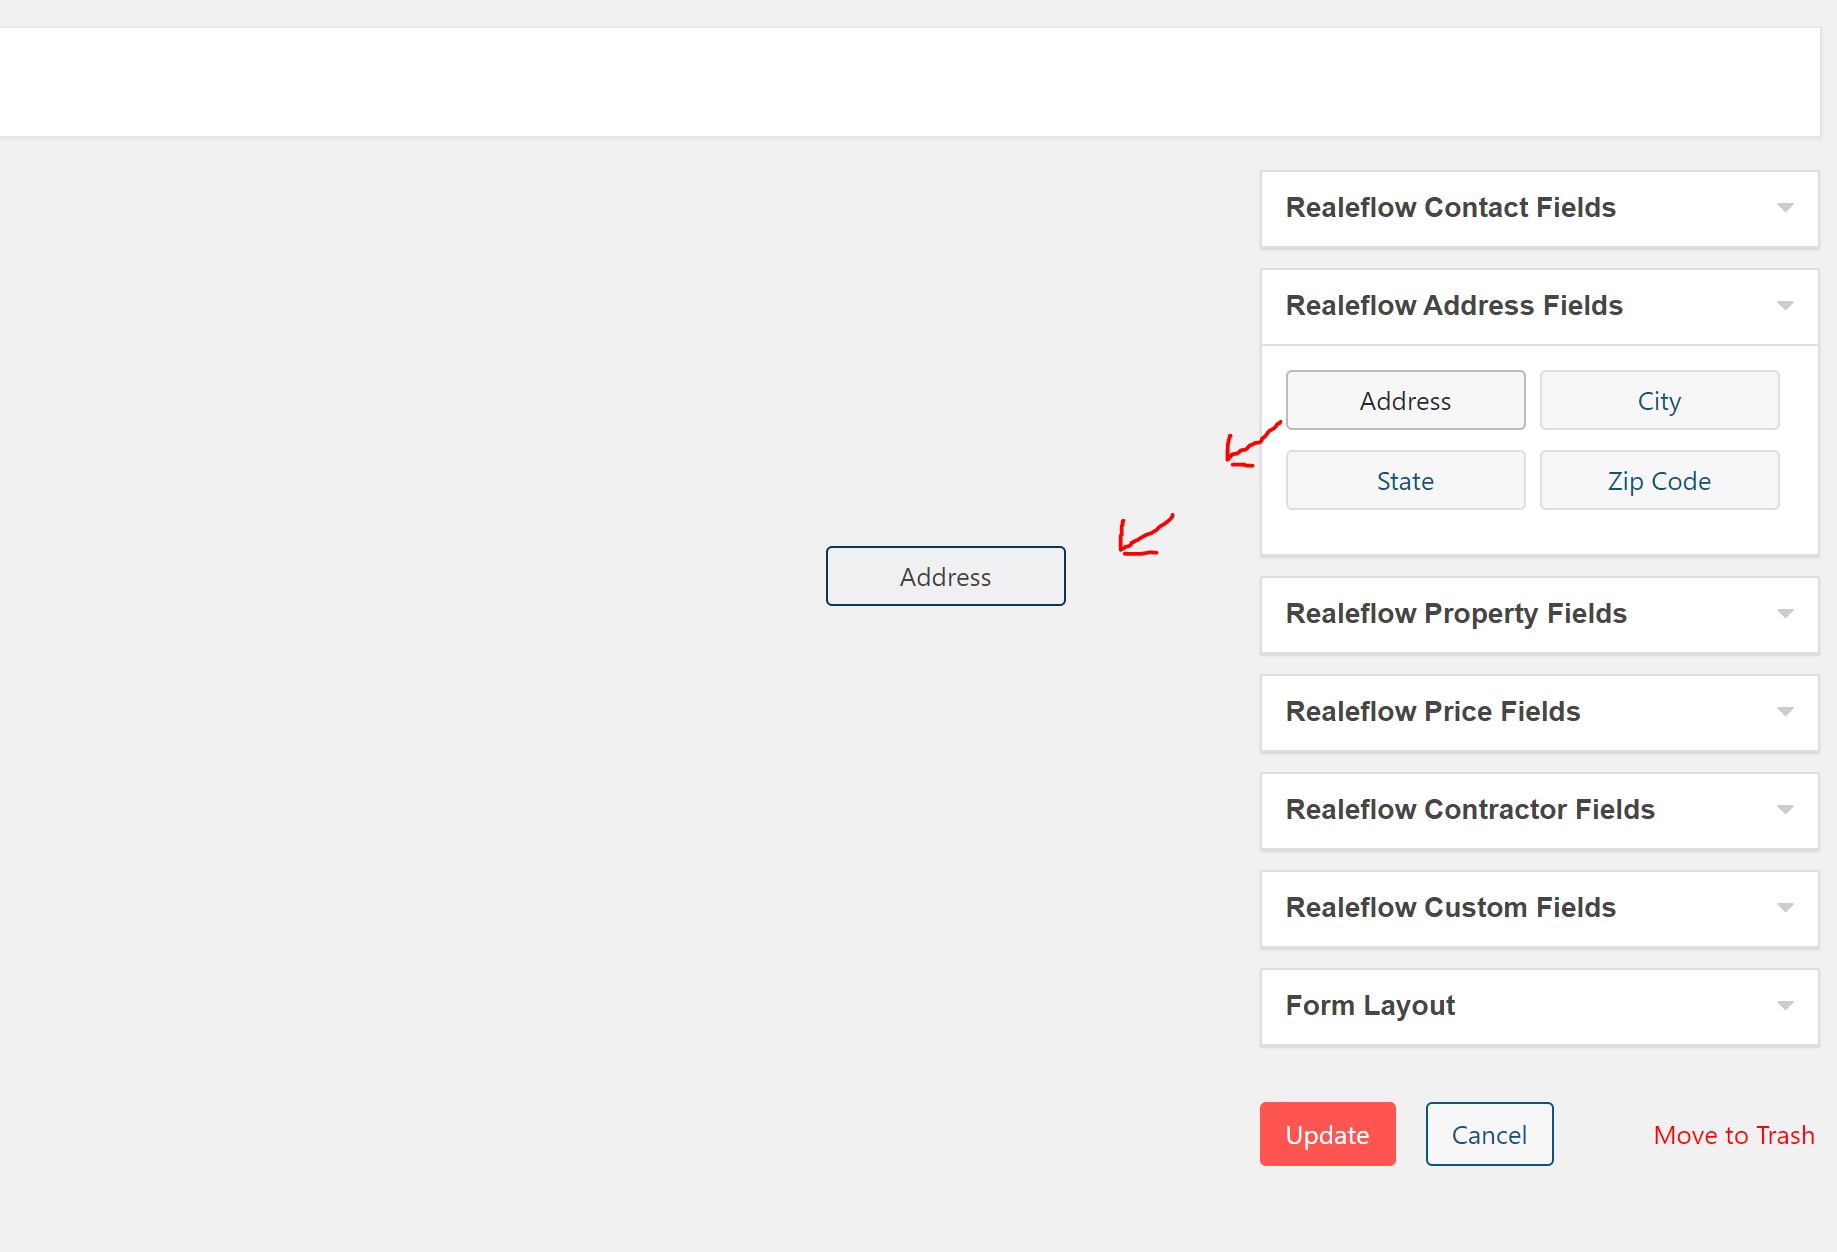
For seller leads, you can include Address Fields and other Property Fields.
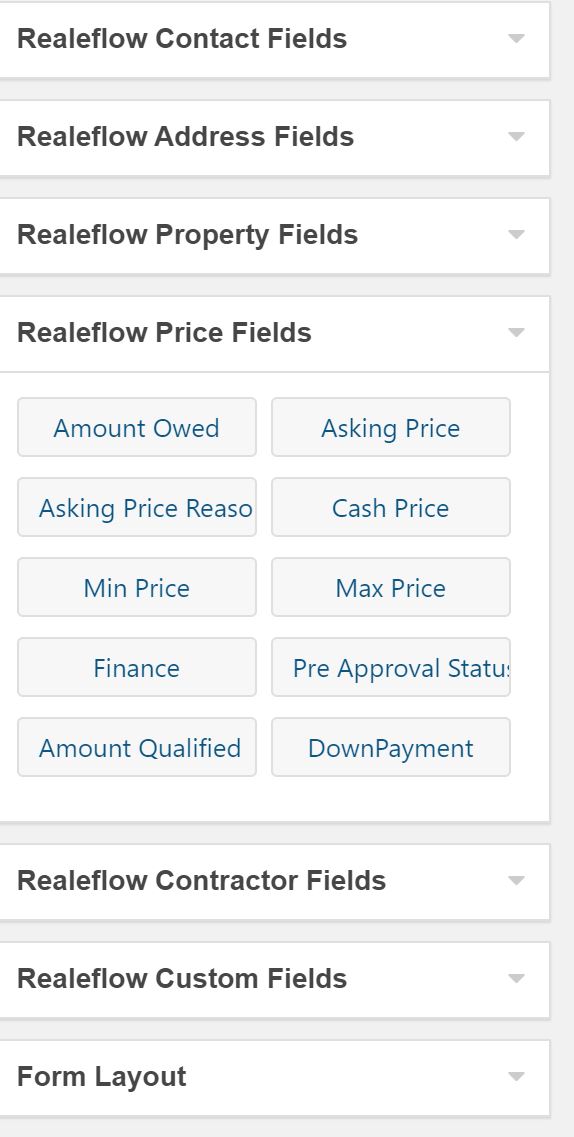
You can also include some financial questions as well to obtain as much information as possible prior to reaching out to the lead so you can be well equipped for your initial conversation.
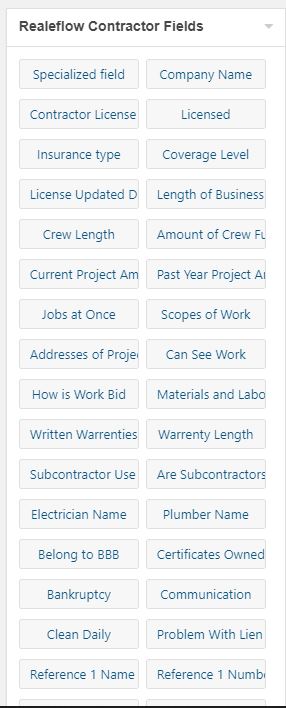
If you are creating a totally custom form to attract contractors for your rehab projects, we have fields for this too.
If you don't see the field you are looking for, but want very specific information collected, you can use the Custom Fields dropdown.
[For more information on creating custom fields for a contact or property, please see the help article reference here: https://realeflow.kayako.com/article/56-custom-fields-how-to-label-view-edit]
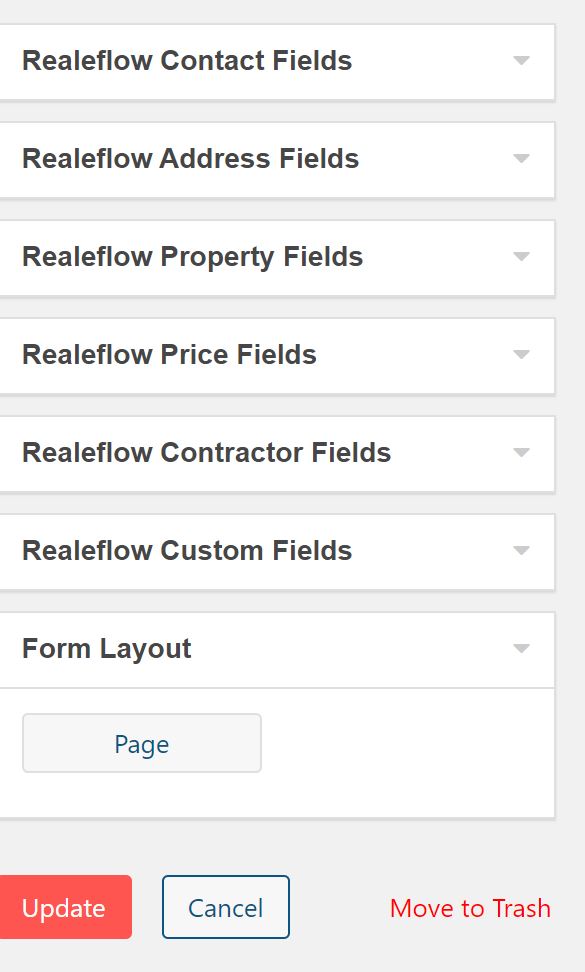
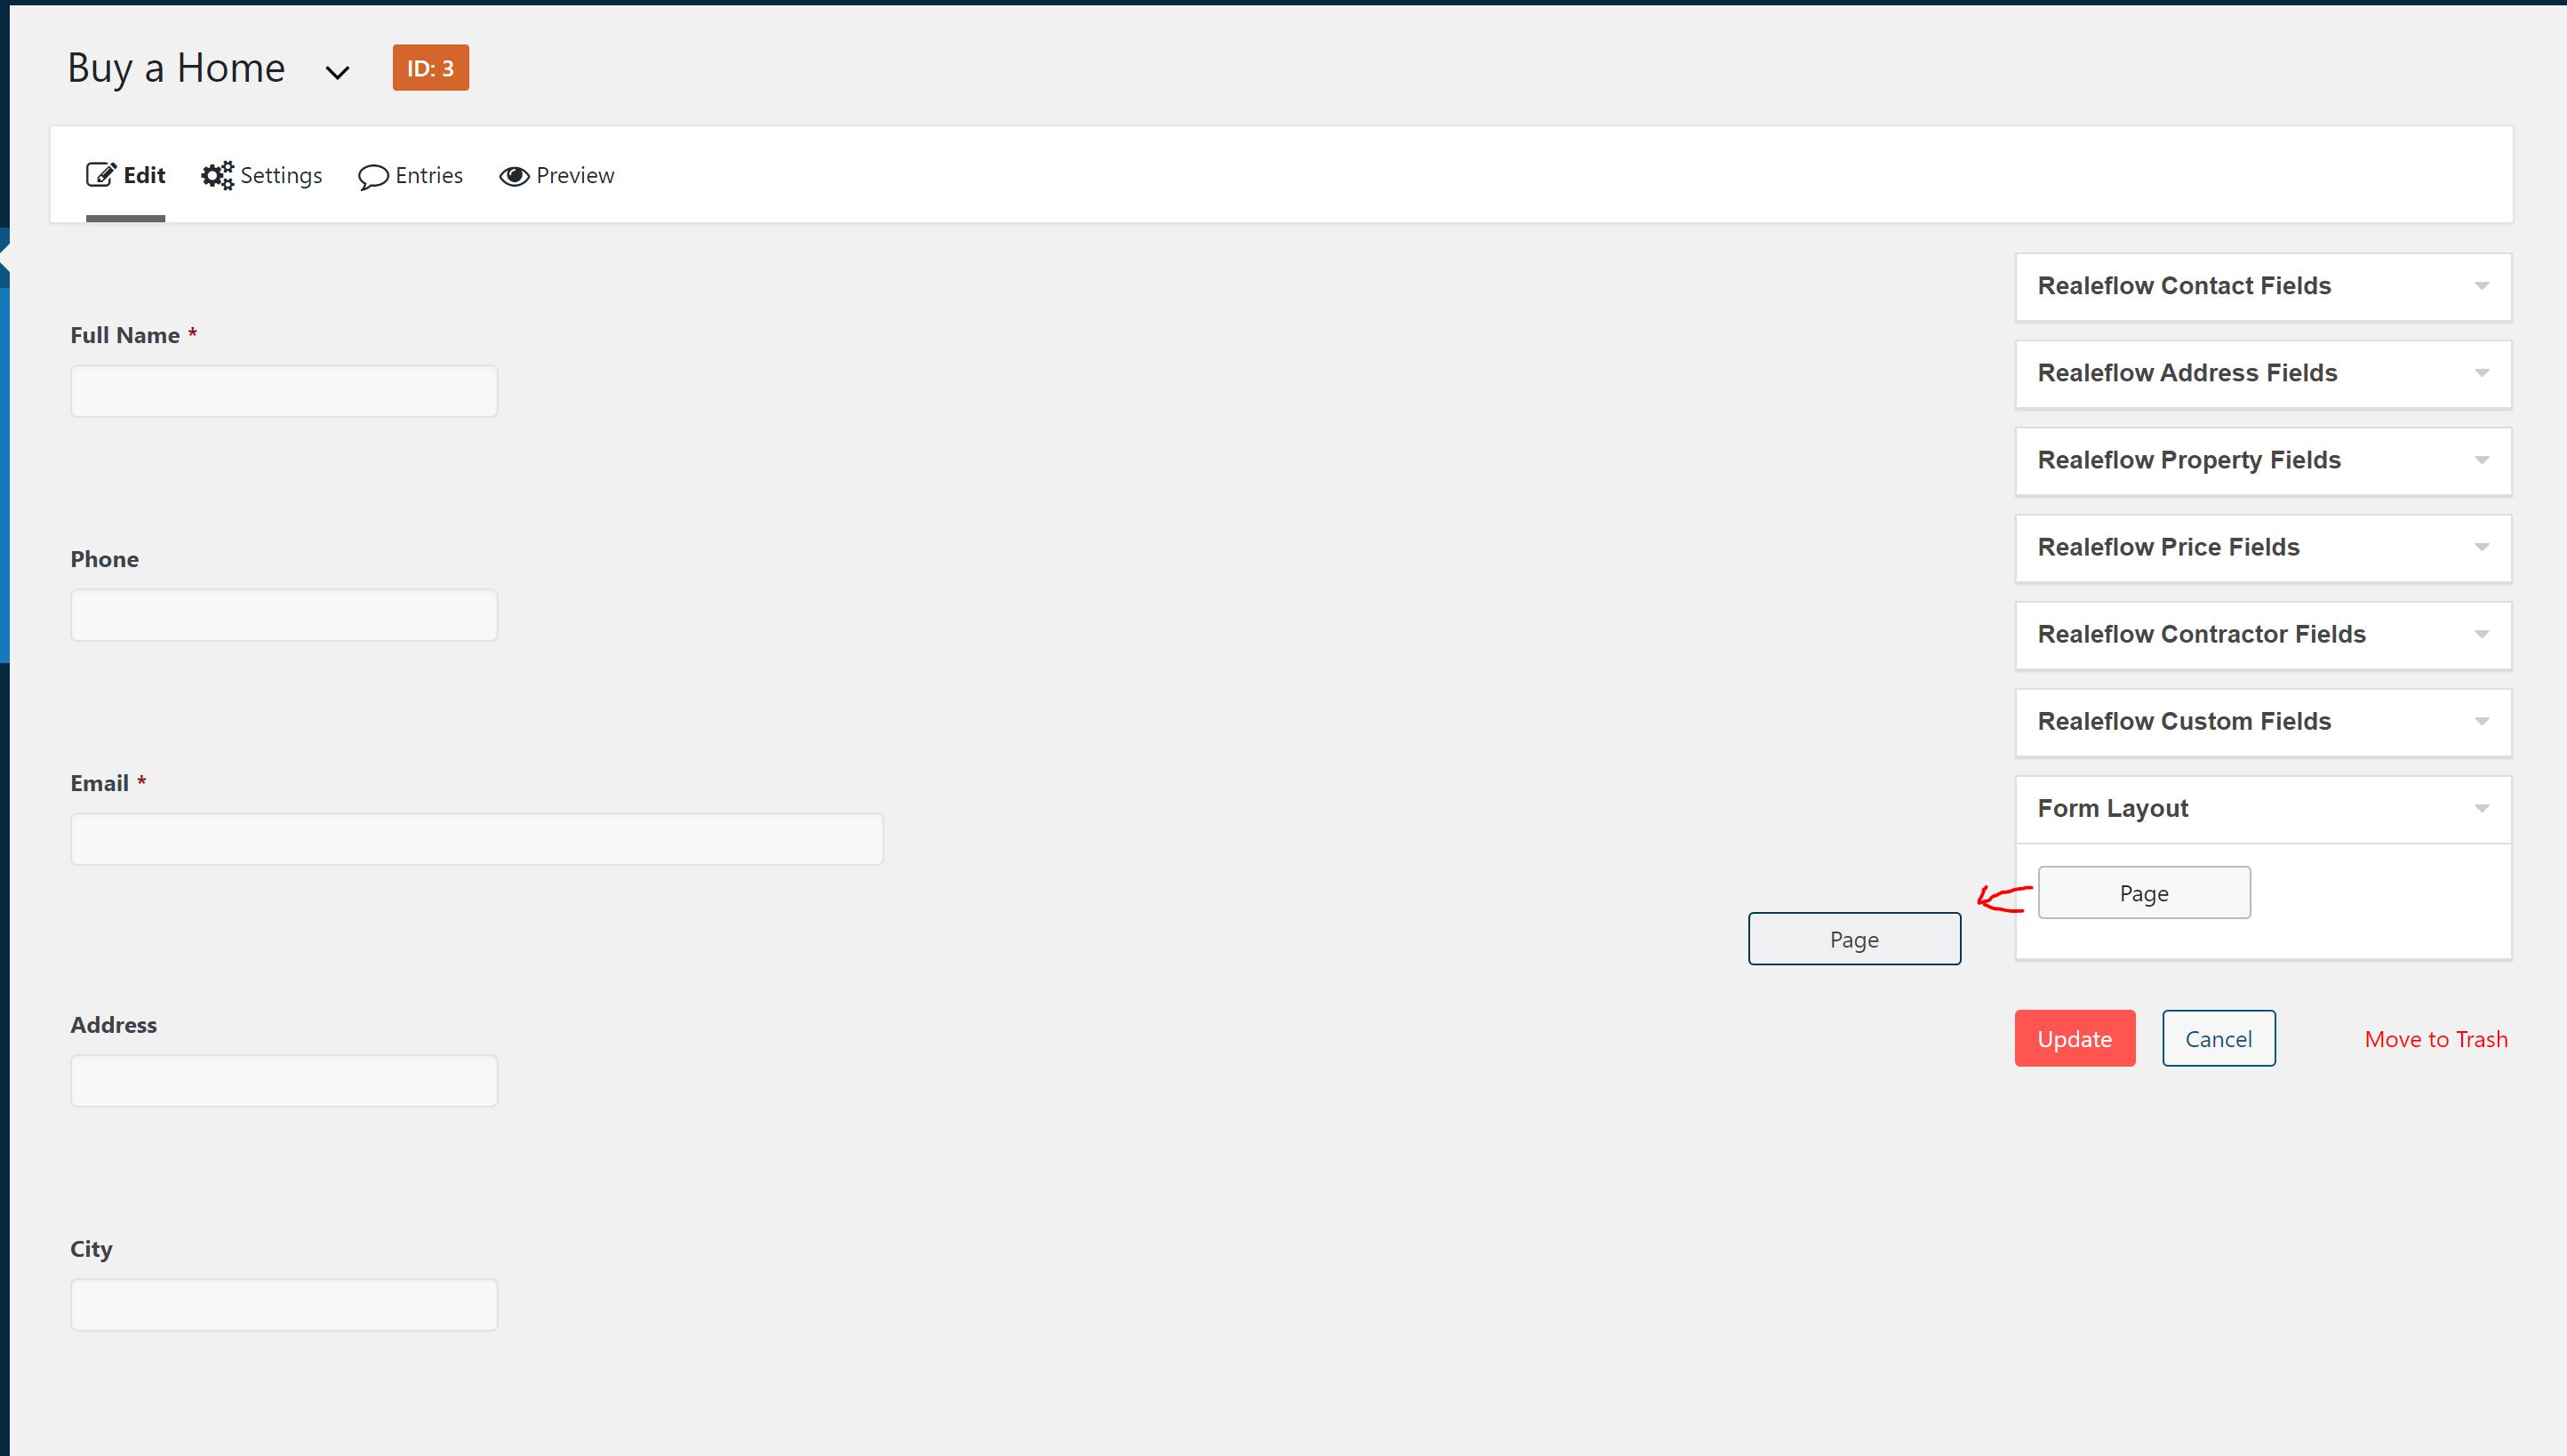
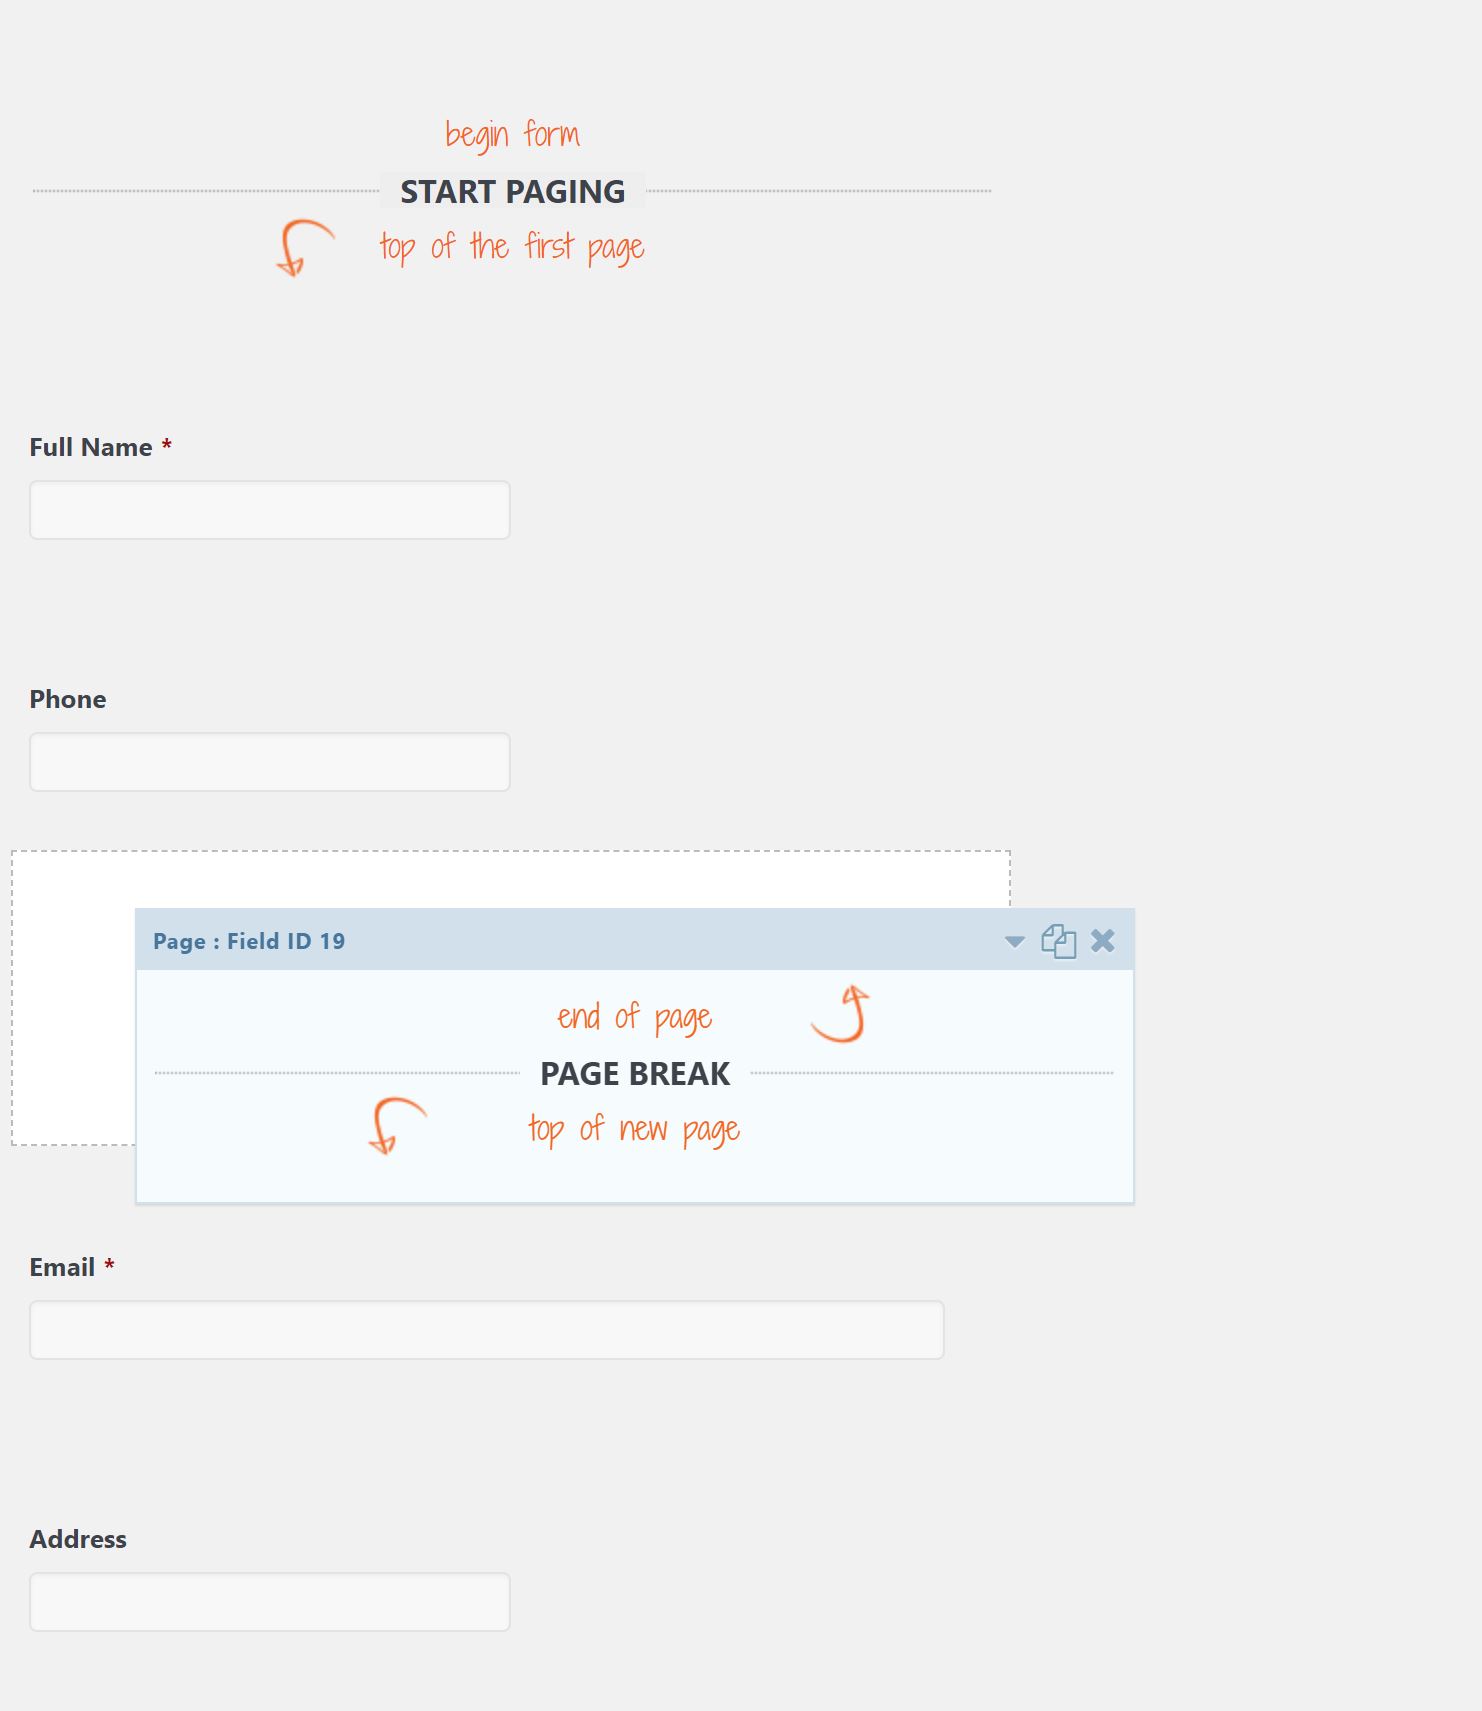
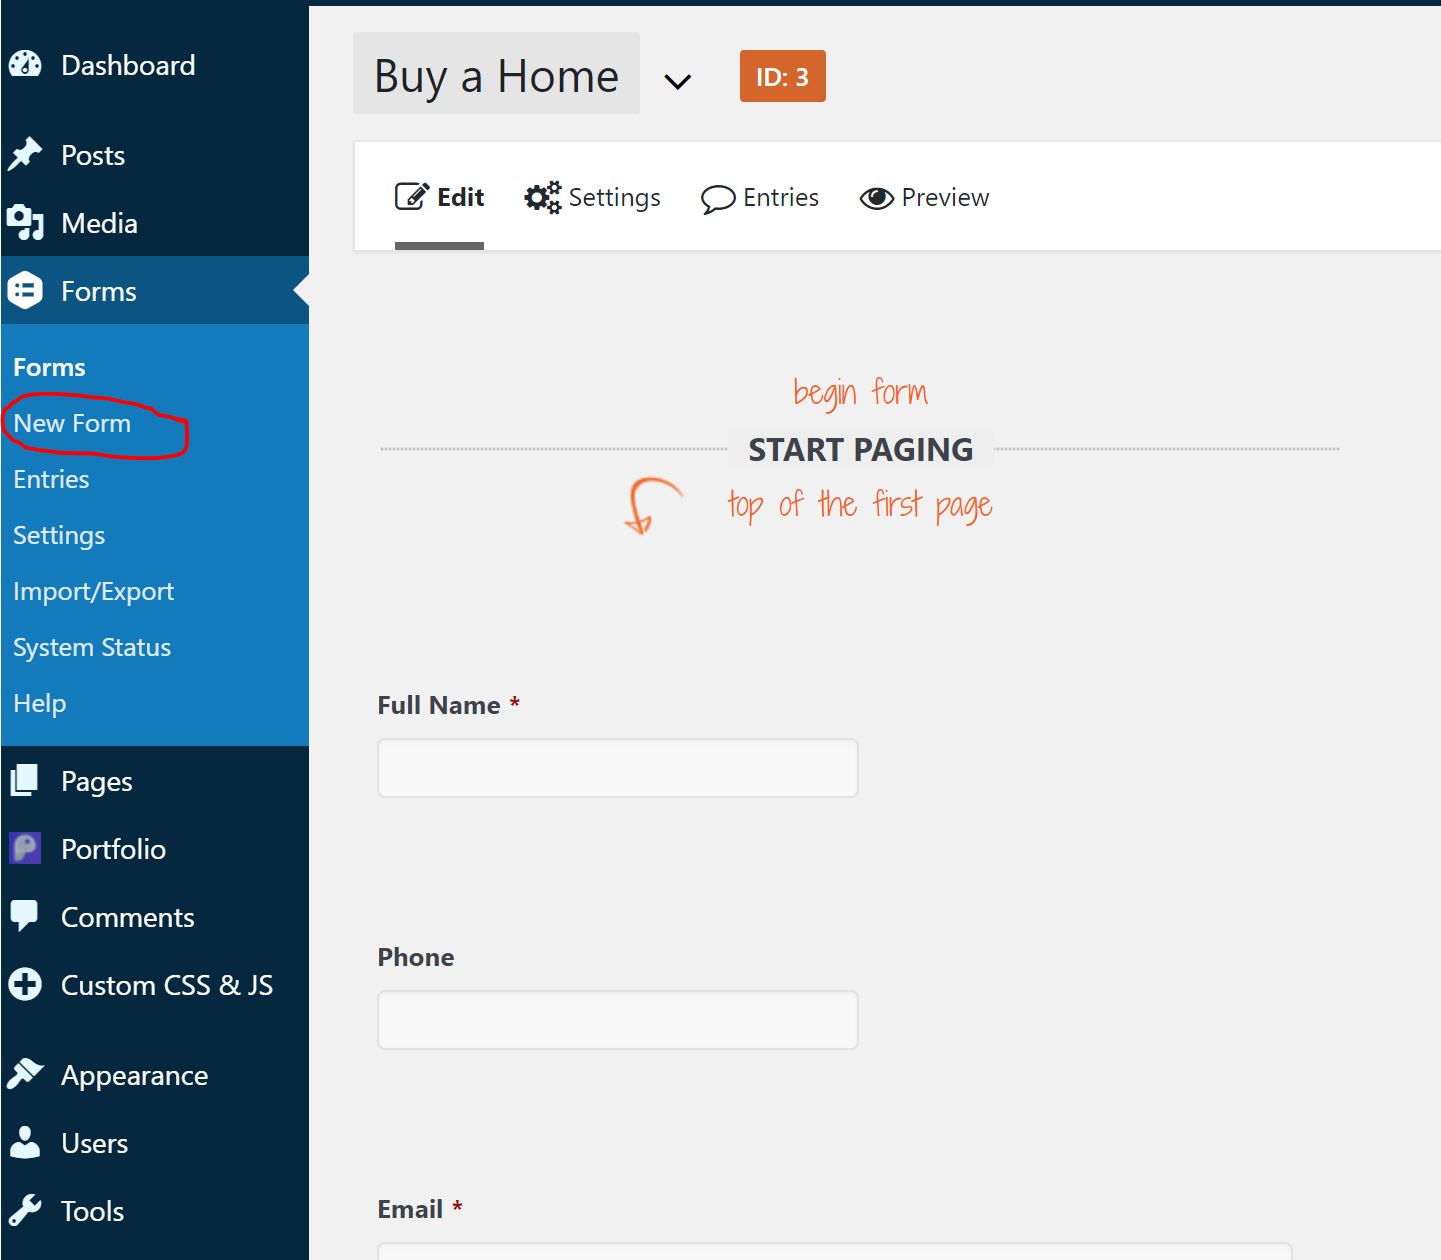
In the scenario that you want this form to have a lot of different fields filled out, but you don't want the lead to be overwhelmed by the size of the page, you can add a Page Break in between fields.
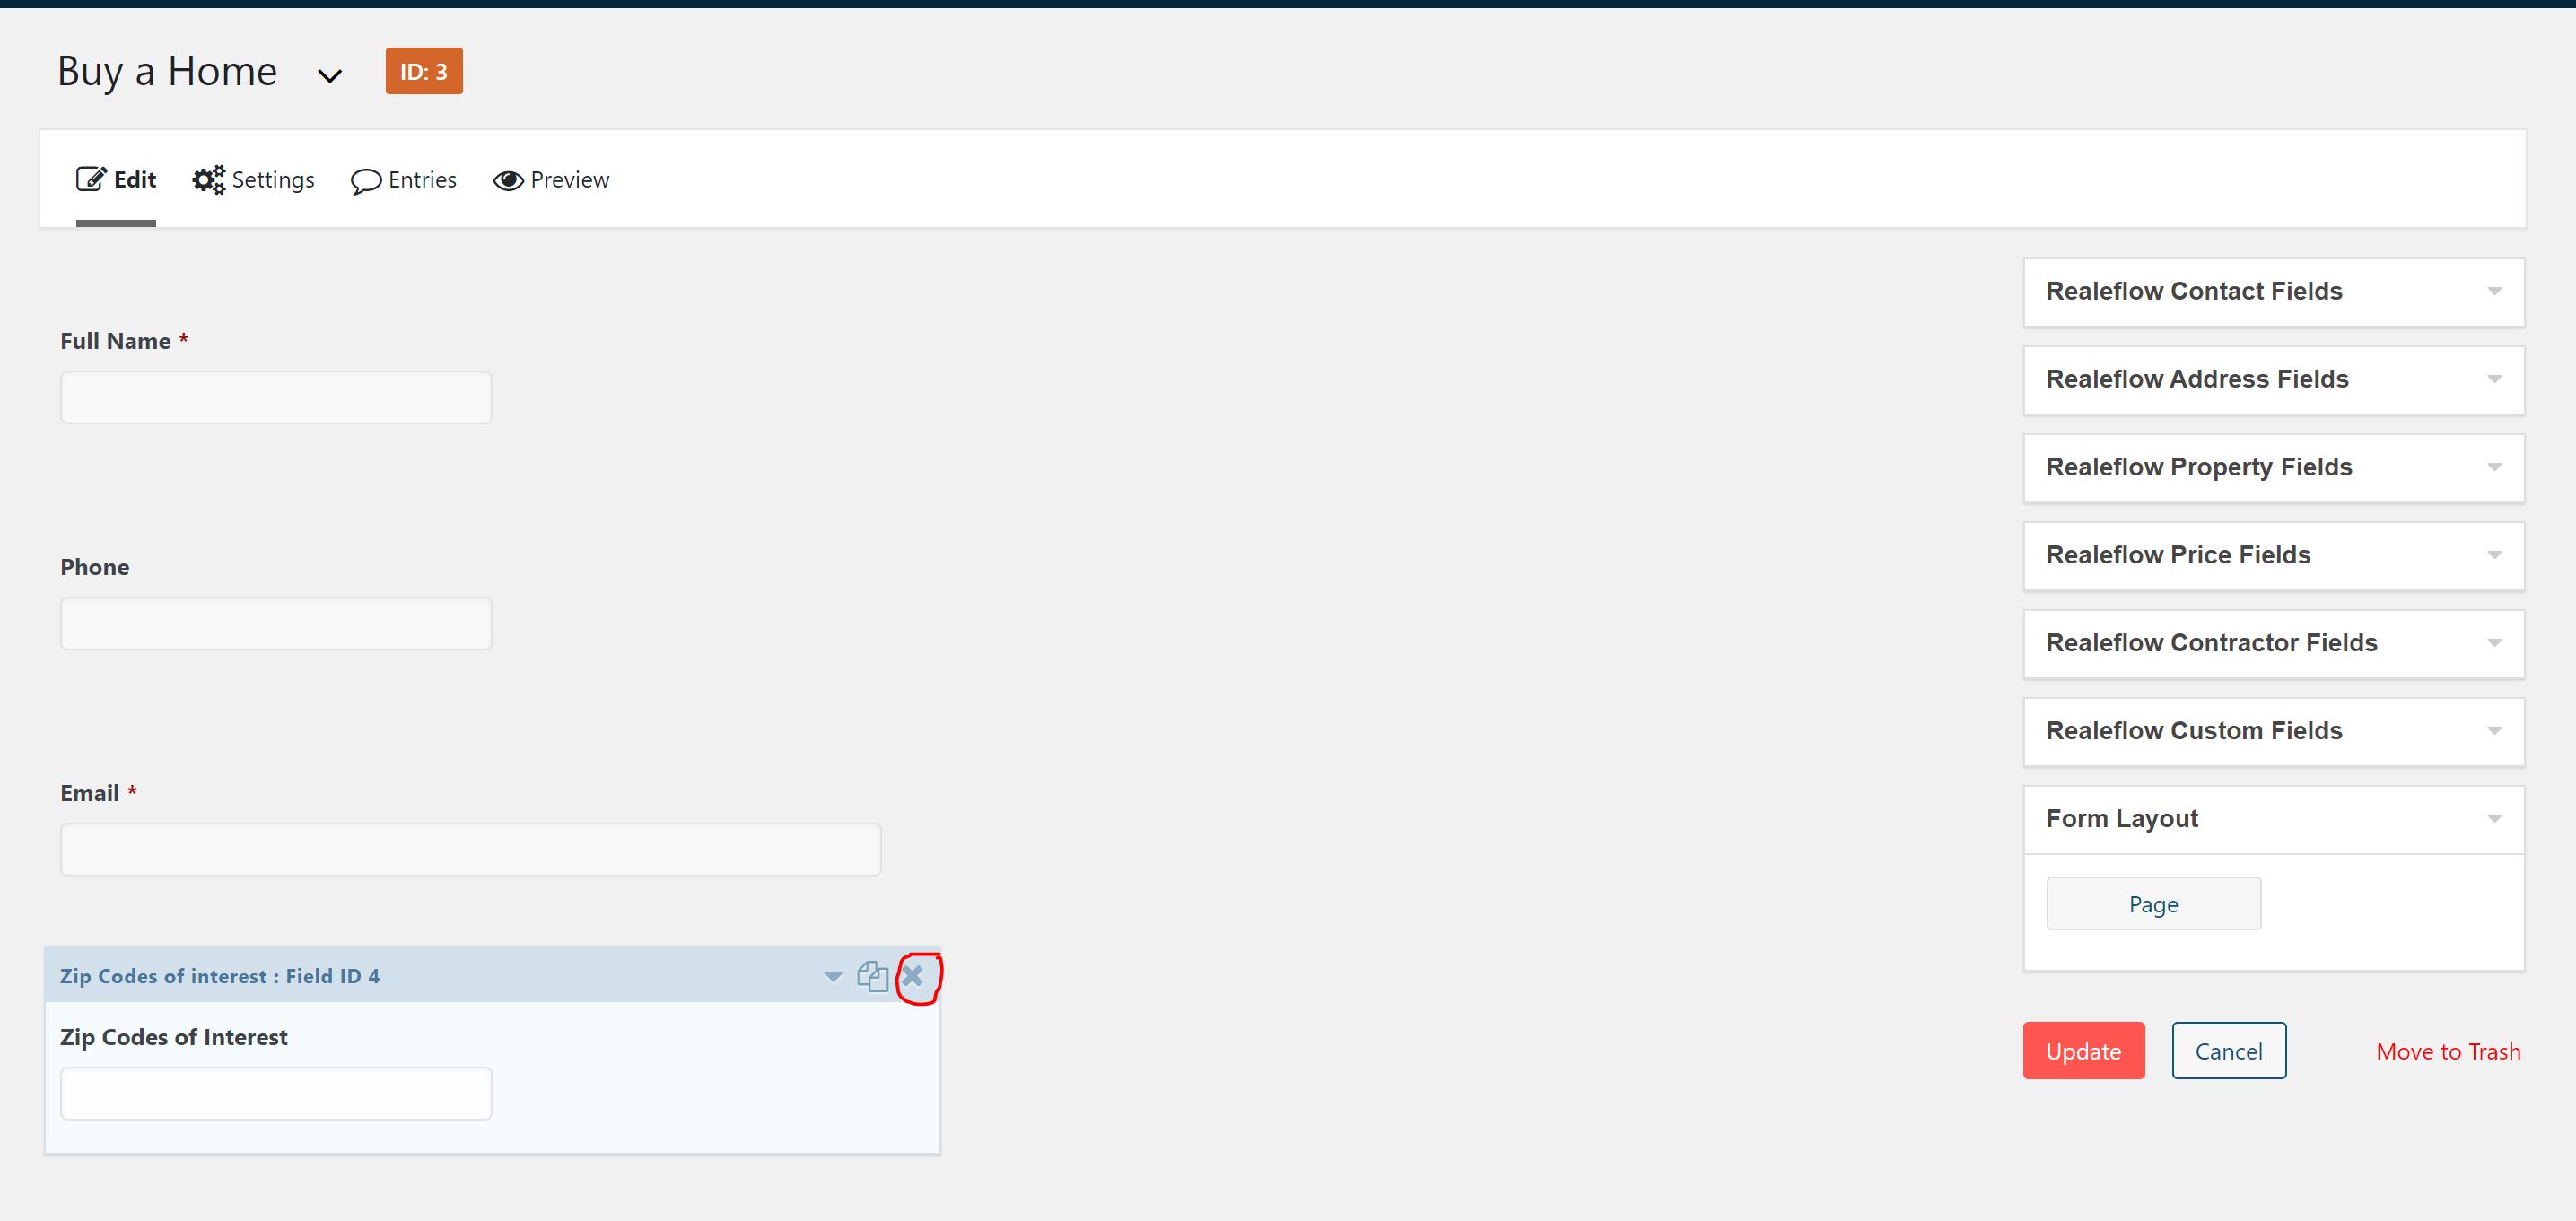
For a quick snapshot, let's change this buyer lead form to a seller lead form. First, we need to delete the field that makes this form a Buyer form, namely, the Zip Codes Of Interest field. Simply hover your mouse over the field and click the X in the blue bar.
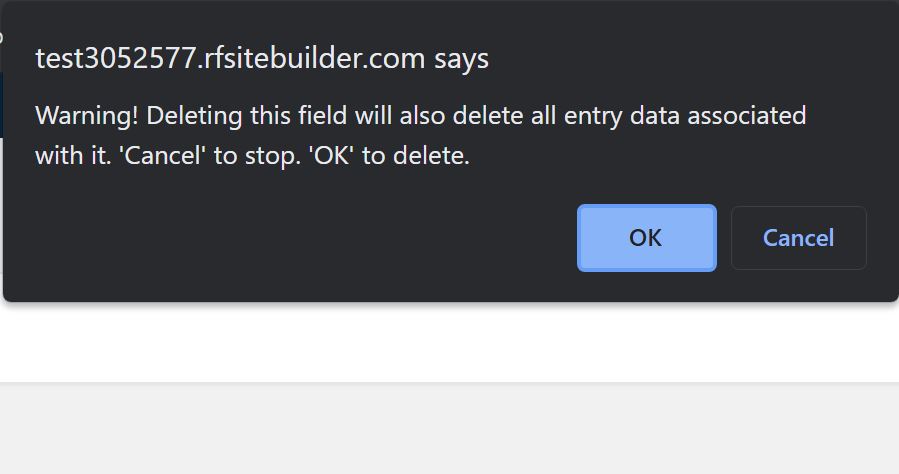
After you click the X, you will get the Warning pop-up asking if you are sure you want to delete this field from the form. Don't worry! Even if you accidentally delete a field you wanted to keep, don't forget the large menu of available fields to the right. You can always add that field back to the form. To complete the deletion, click OK.
Now that this is gone, you can start to make it a Seller Lead form. You can add as many or as few fields as you want; however, when you first click and drag the field over from the list into the form, you will notice you cannot add the field to the very bottom.
If you want that field to be last on the list, just add it anywhere, then click/drag it down as we learned before, then repeat as needed with the rest of the fields you are adding.
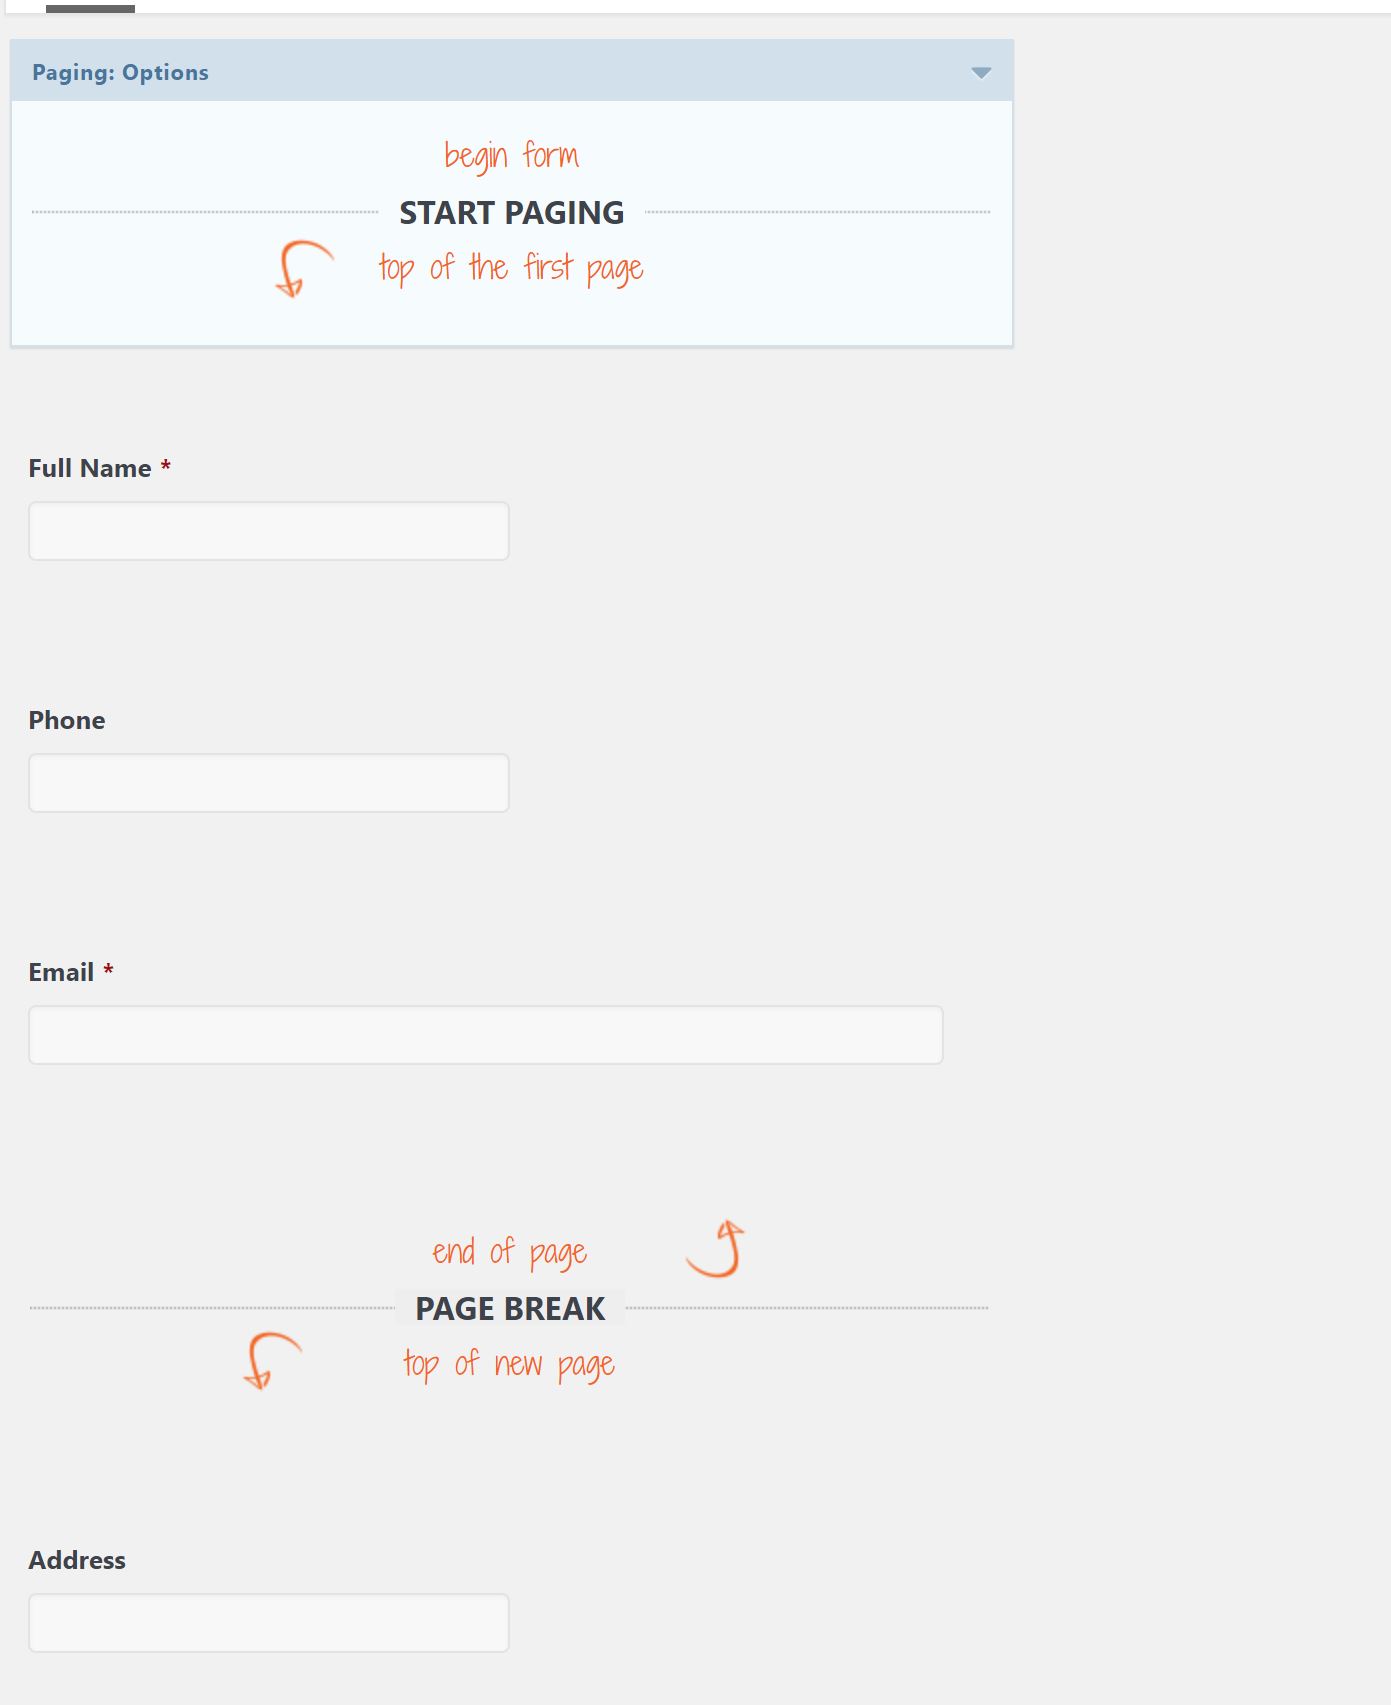
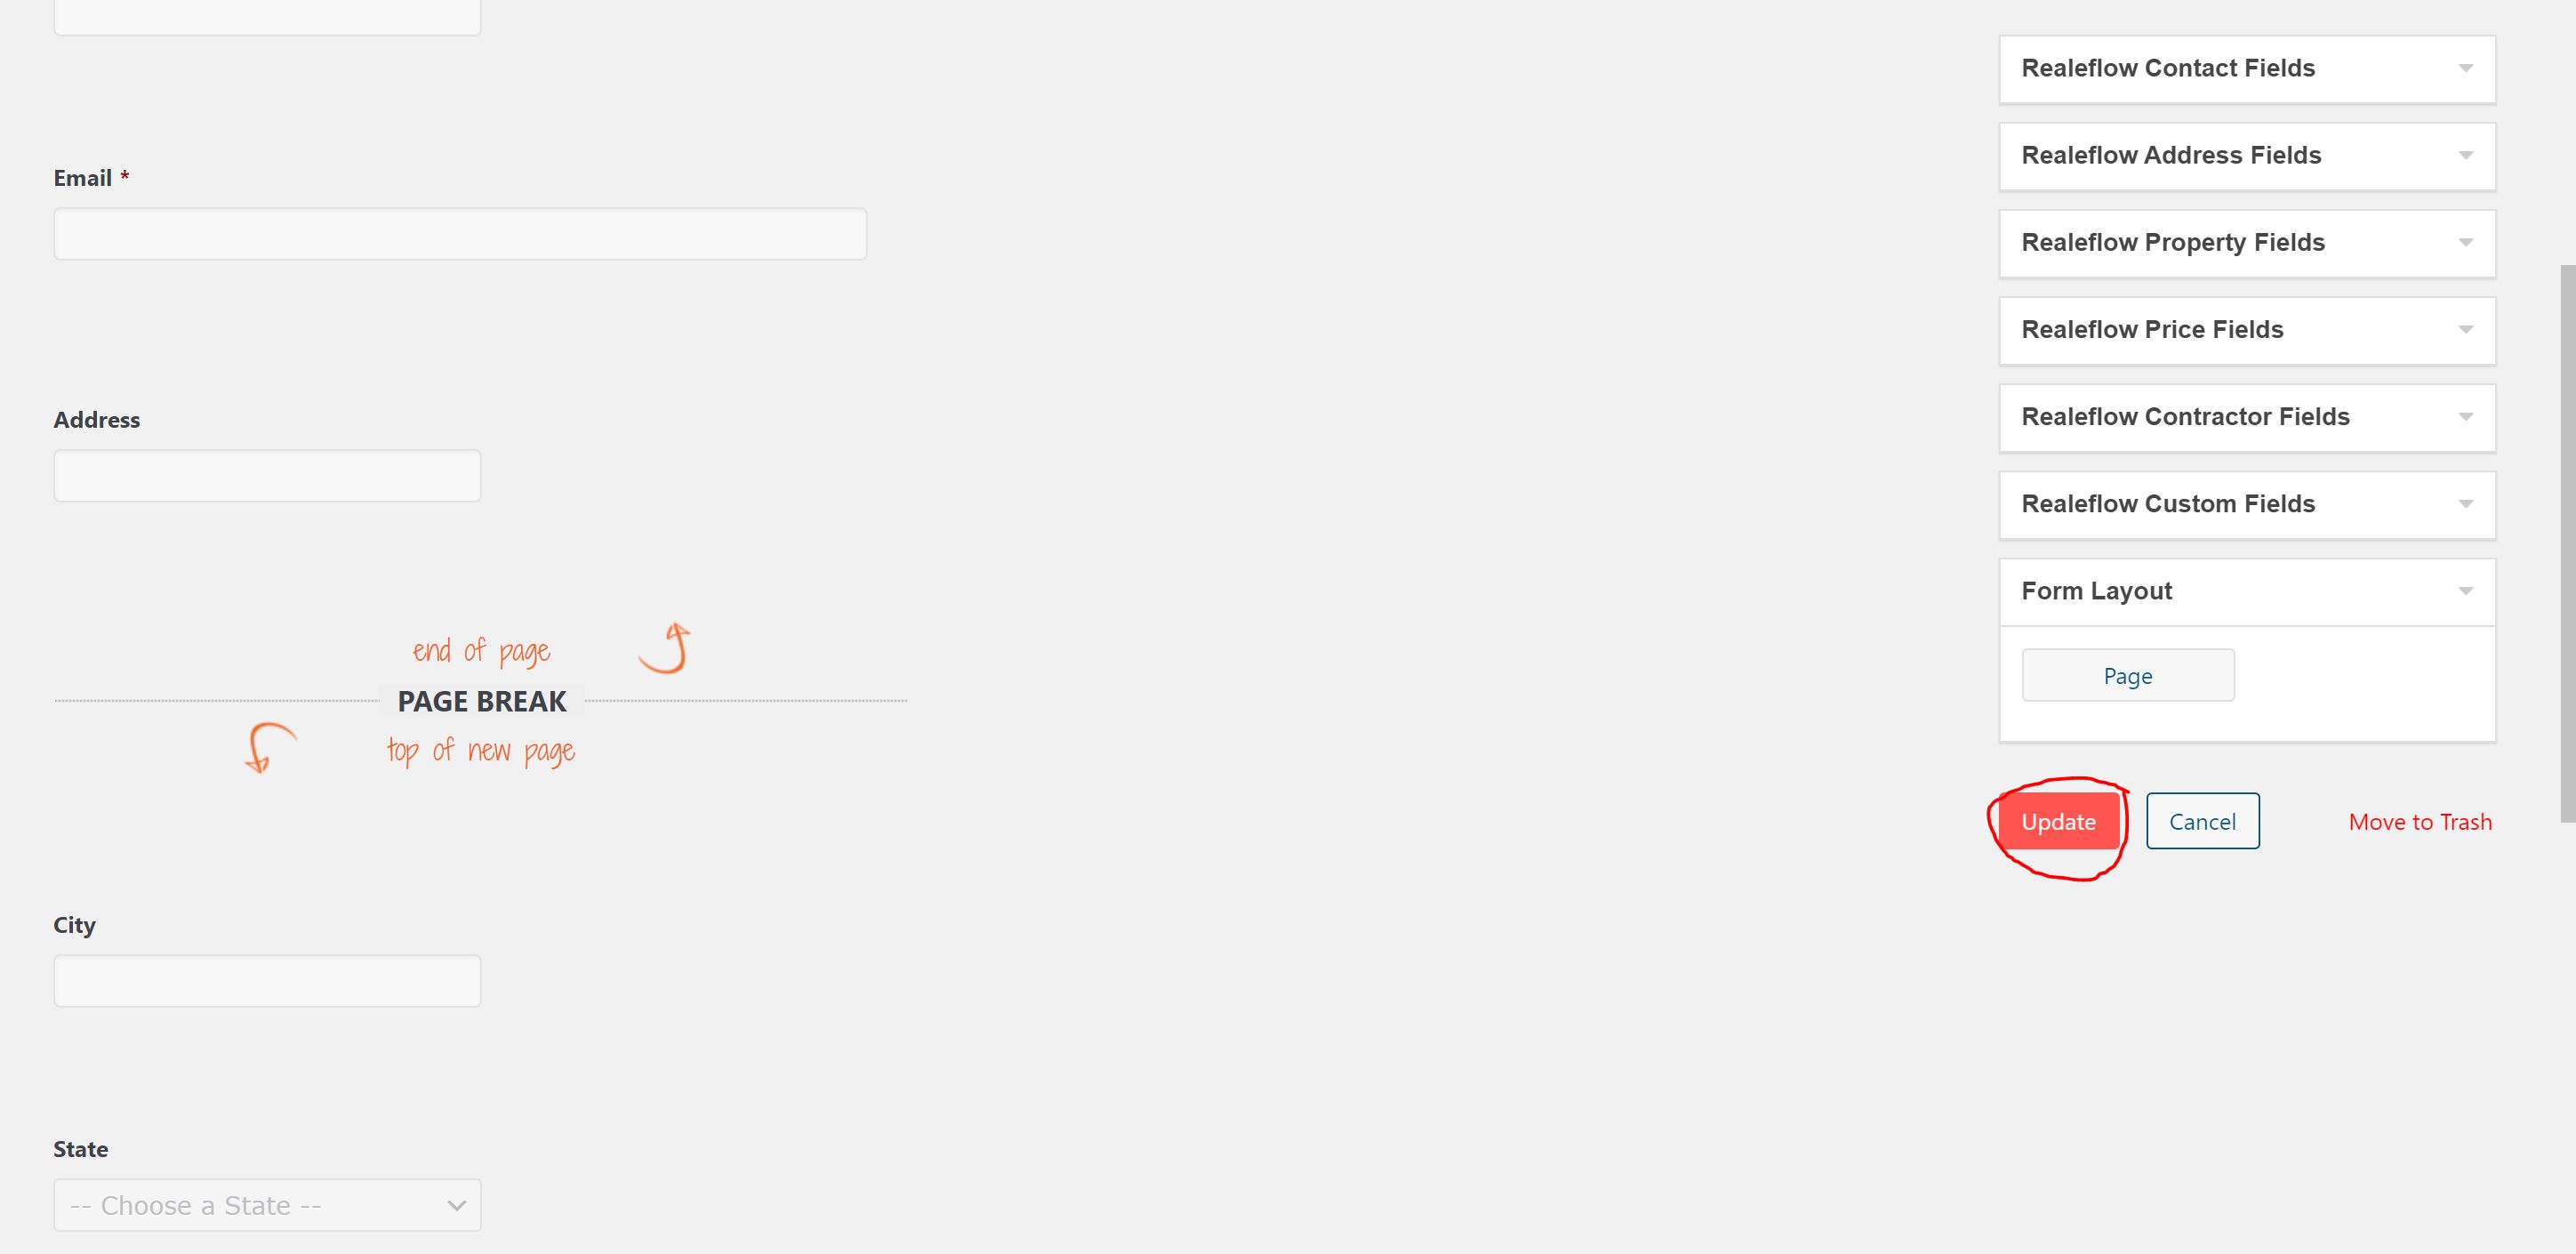
Now that we have all the fields we want for this form, let's make it easier on the lead by breaking up the pages. When you first add the Page break to the form, it will not look like the other fields you added previously. This will show where the page break now starts and ends.
To move these around, you will click and drag like before. You can also add multiple page breaks by clicking/dragging the same field multiple times onto the form. This will allow your form to have a Page 2, Page 3, etc. all separated by a NEXT button instead of a SUBMIT button (displayed on the website).
When you are finished adding the fields you want, deleting the fields you don't want, and breaking up the form into multiple pages, be sure to hit the UPDATE button under the fields options.
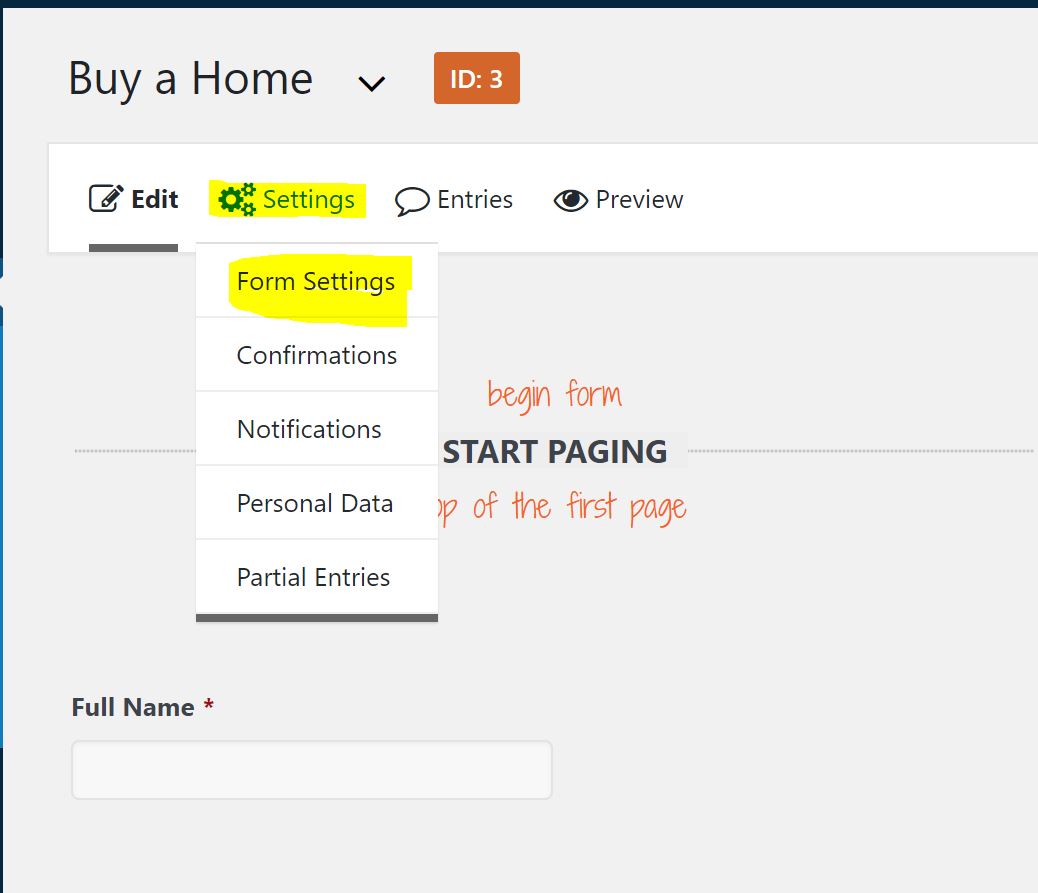
You will notice in this scenario that the title of the form is still at Buy A Home. You can edit this by clicking the Settings button below the title. You can also hover your mouse over the button and click Form Settings.
On the new screen, you can change the title in the top field to the title you want it to be.
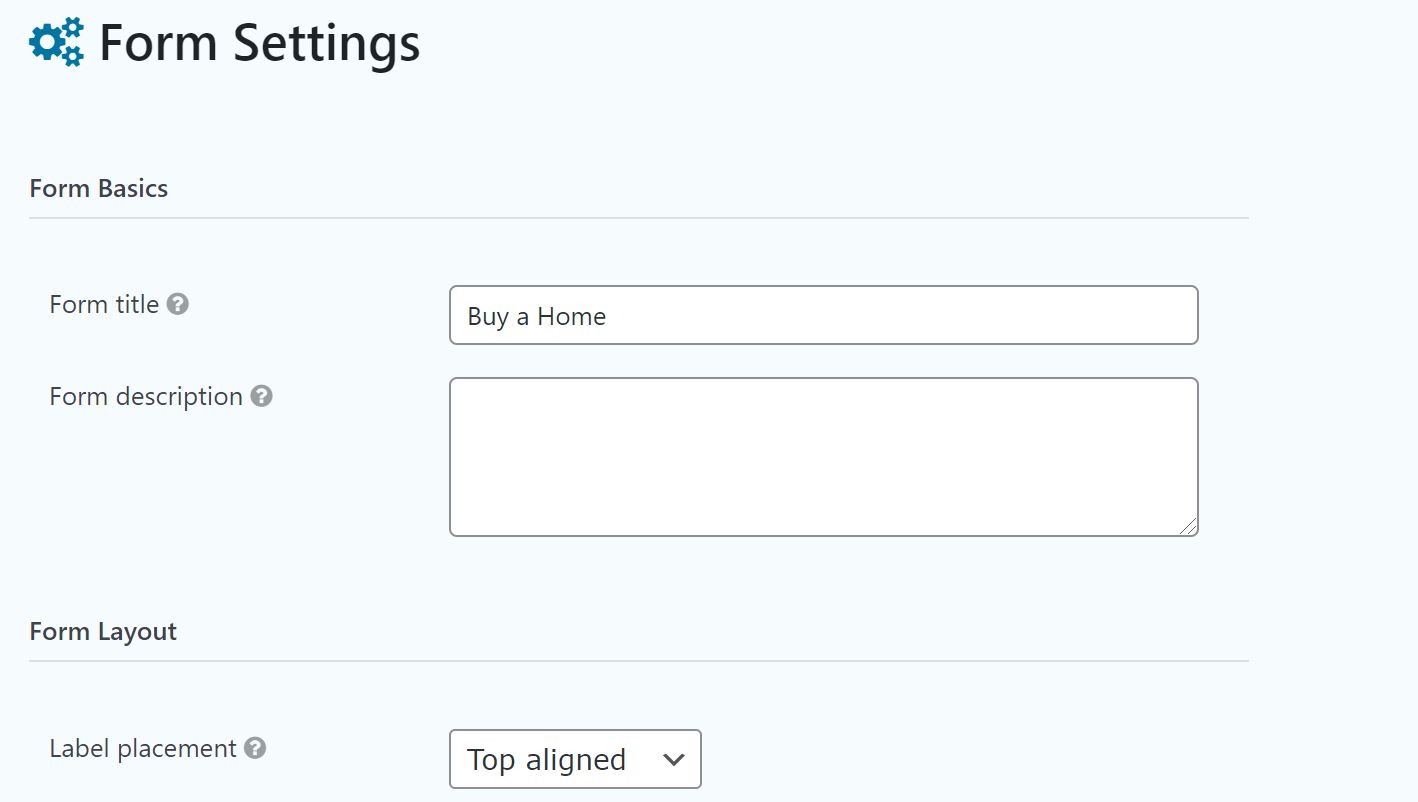
When finished, scroll down to the bottom of the page and click UPDATE FORM SETTINGS.
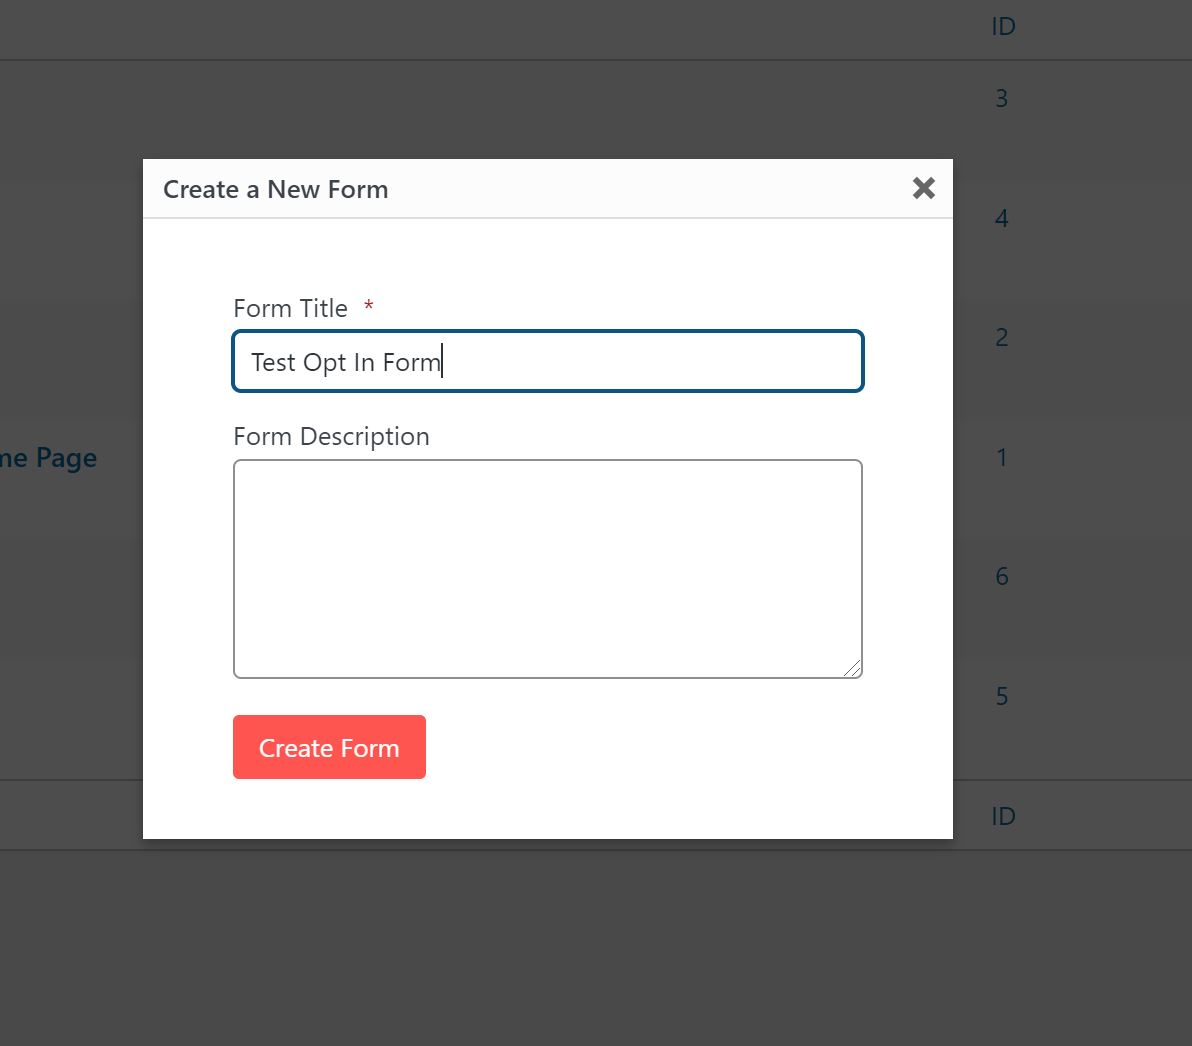
Now that you know the basics of customizing an optin form, we can conclude by looking at where to create a brand new form. You can go to your left main Wordpress Menu, and click NEW FORM.
In the popup box, you can create the new form title and add a description if you so choose. Then, click CREATE FORM.
On the new screen, you will see some standard instructions from Wordpress on creating the form. Please know that these instructions are the same as what you just learned, and they will disappear once you click/drag your first field over into the form area.
Finally, if you are having any issues with Wordpress editing or form editing, our customer support team is here to answer any questions.
Josh Tobias