In this article we are going to show you the different ways you can add one of your contacts to an Auto Responder manually.
**Whenver a lead that is created in your account via a website optin form from your Squeeze page website for example, they will automatically start receiving the Auto Responder that is attached to the Squeeze Page website.
How to add a contact to your Auto Responders:
After a contact has been created in your account, there are 2 ways you can add them to an Auto Responder.
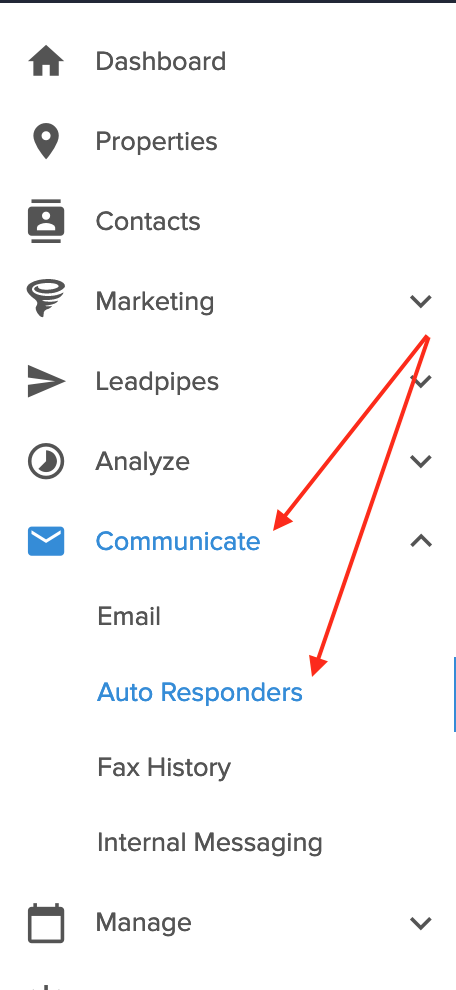
1. From within the Contact file- go into a contact file and on the left hand side under the Communicate section click on 'Auto Responders'
Next, click on the 'ADD' button
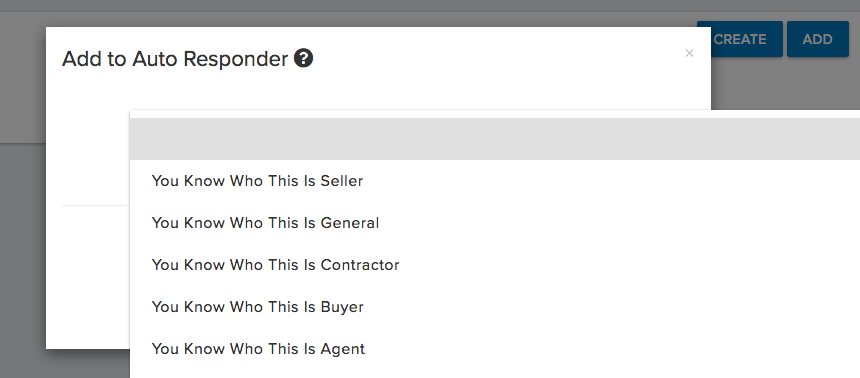
In the pop up window, select the Auto Responder you want from the drop down menu
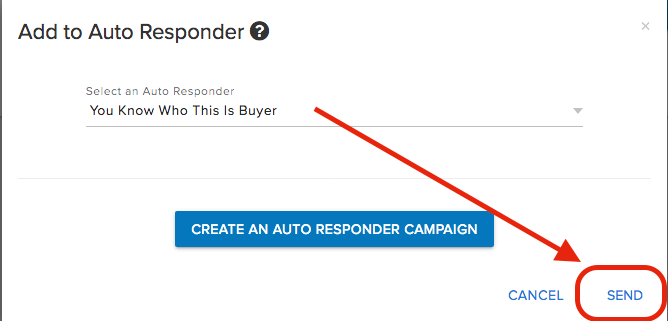
Now click 'SEND' within the pop up window after selecting the Auto Responder
Refresh your screen to see the Auto Responder info for that contact
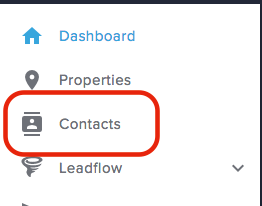
2. From the List view of Contacts- In the Side Navigation click on Contacts to bring you to the list view
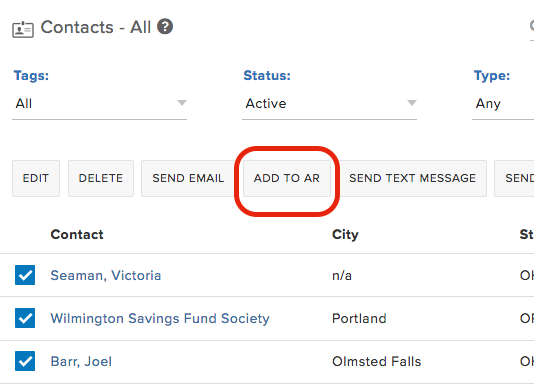
Next, you can filter your list of contacts and select them or just select the contacts by checking them off to the left of their name
**You can select 1 or multiples. If you scroll to the bottom of the page you will see a Select page / Select Entire List option
Once your contacts are selected click on the 'Add to AR' above the list view of contacts
In the pop up window, select the Auto Responder you want from the drop down menu
Now click 'SEND' within the pop up window after selecting the Auto Responder
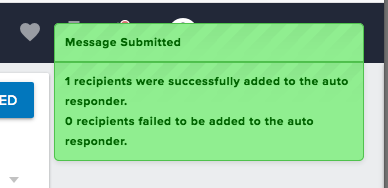
Choosing either method to send an Auto Responder to your contact, you will see a green confirmation prompt appear in the top right corner of your screen



QA Team