If you are utilizing our old website version you will need to follow the steps outlined below to create a new site.
Step 1: Create New Site
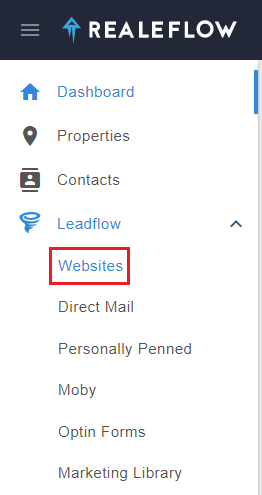
Once logged into your account go to Leadflow in the Side Navigation and in the drop-down menu select Websites
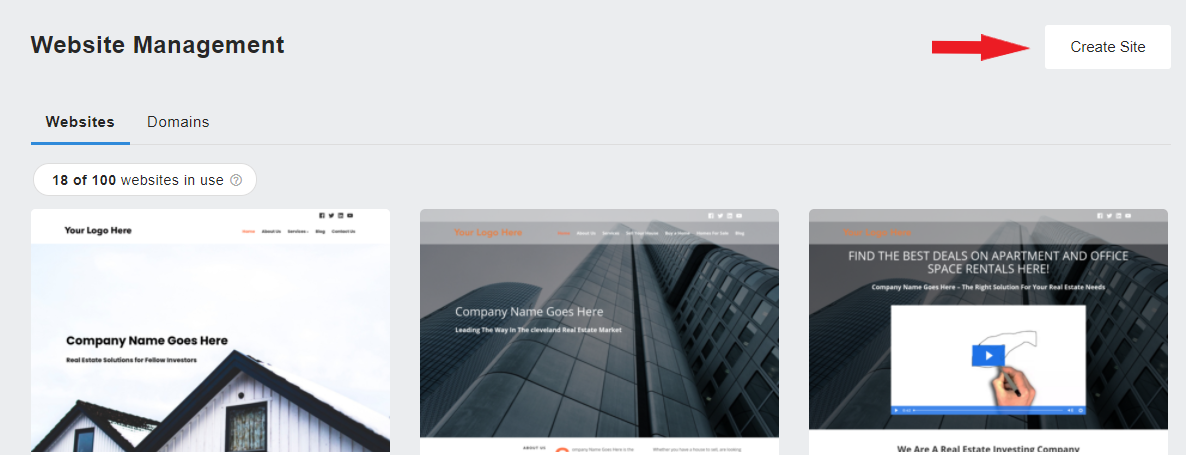
Create a Site
Click on the Create Site button at the top right of the website management page
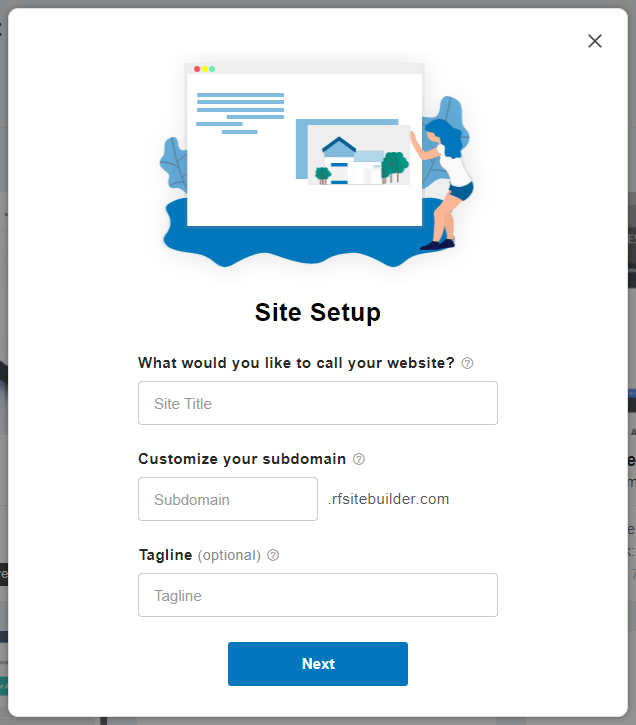
Site Setup
Enter your Site Title, Subdomain, and Tagline to set up your site then click Next
Site Title
This is the name of your site which usually appears in your site's header and may also appear in browser tabs, search engine results, and social shares. Pick a name that makes it easier for you to identify your site (like your business name). Don't worry, you can always change this in WordPress later.
Subdomain
Create a subdomain that is easy to type/remember. Visitors will be able to access your site via your subdomain or it can be used as a live test site while perfecting your site content. You can connect/purchase a primary domain later in the Domains tab (highly recommended).
Tagline
A short sentence that tells visitors what your site is about. Taglines usually appear near the site title and may appear in search engine results.
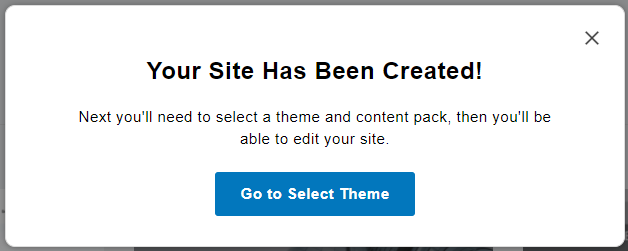
Select Your Theme
Click on the Go to Select Theme button to choose your site design.
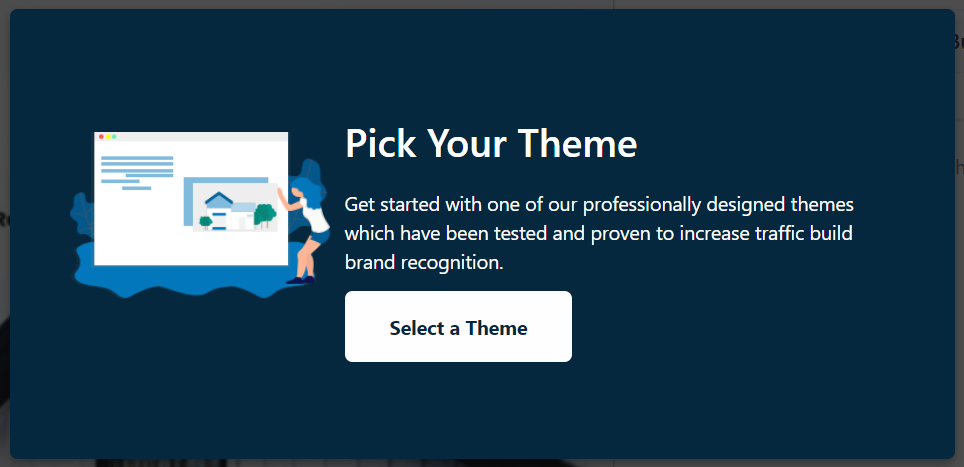
This will take you into WordPress by opening a new tab in your web browser. Pick your theme by clicking the Select a Theme button
Activate Theme
Choose from our selection of themes (site design). Click the Activate button for the theme you have selected.
Please note that you may only have a single theme available depending upon your pricing plan.
Choose Content Pack
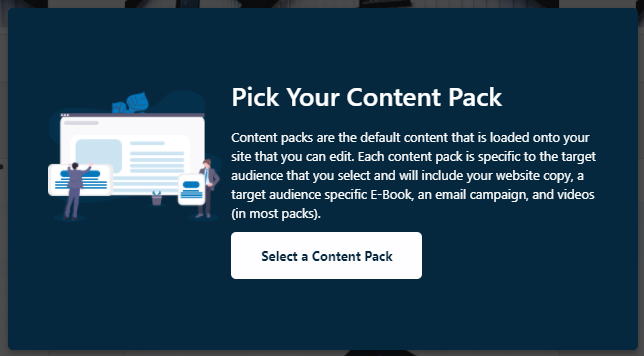
Click the Select a Content Pack button to choose the content that is loaded to your site.
Import Content Pack
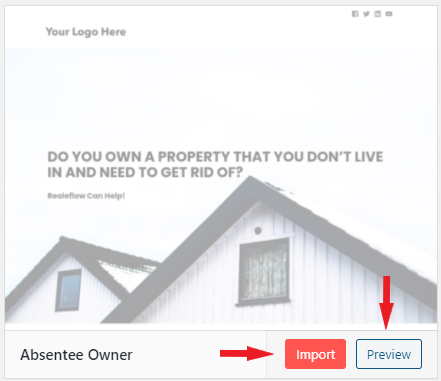
You will be taken to our list of available content packs. Hovering over a specific content pack image will allow you to preview the content by clicking the Preview button.
Once you have selected your content pack, click the Import button
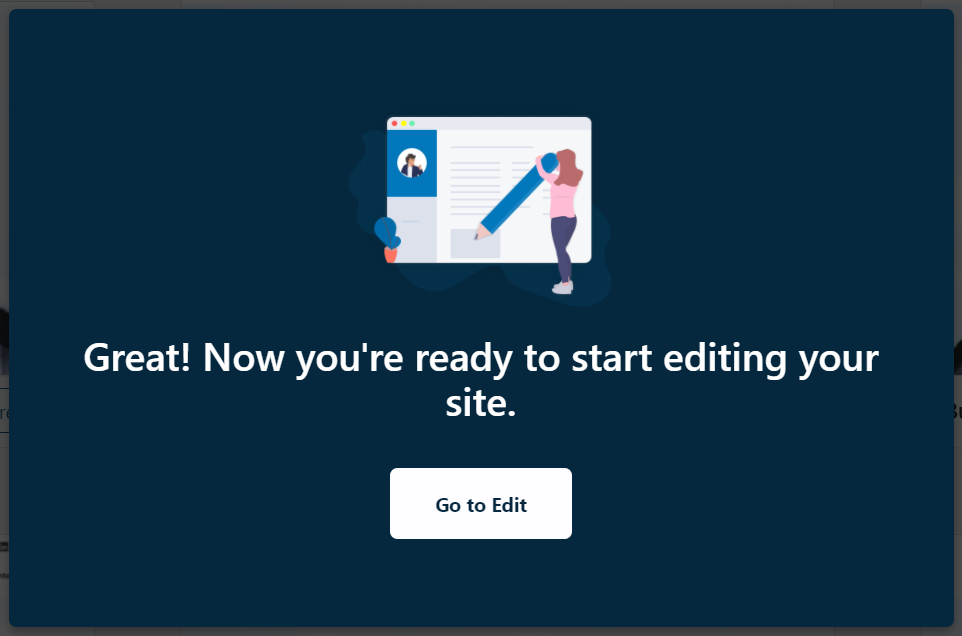
It will take us a few moments to finish building your site. When your site setup is complete, you will receive a prompt to edit your site. Click the Go to Edit button to proceed to the WordPress editor
Step 2: Edit & Customize your Site
You may have quite a bit of content you need to move over or you may decide to start over from scratch! The new websites will be filled with copy content, images, videos, etc. If you have copy content you would like to move over, we recommend opening the editor for your old site and opening the editor for your new site in separate tabs. This way you can copy the content from your old site and paste it immediately to your new site.
This article will show you how to edit individual pages of your new website
Additionally, this article will show you how to customize your site with changes like your Logo, Company Info, Color Scheme changes, and much more!
As always, if you need guidance or have any questions/concerns, please do not hesitate to contact our support team at support@realeflow.com / 855-545-2095. They are happy to set up a time to speak with you and walk you through this process!

QA Team